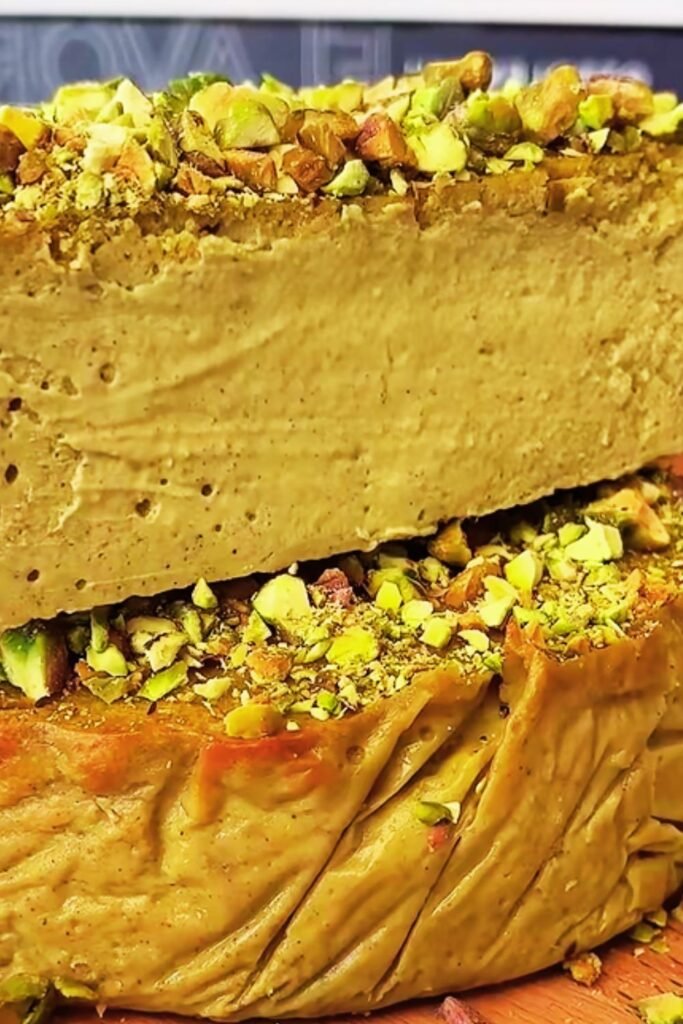
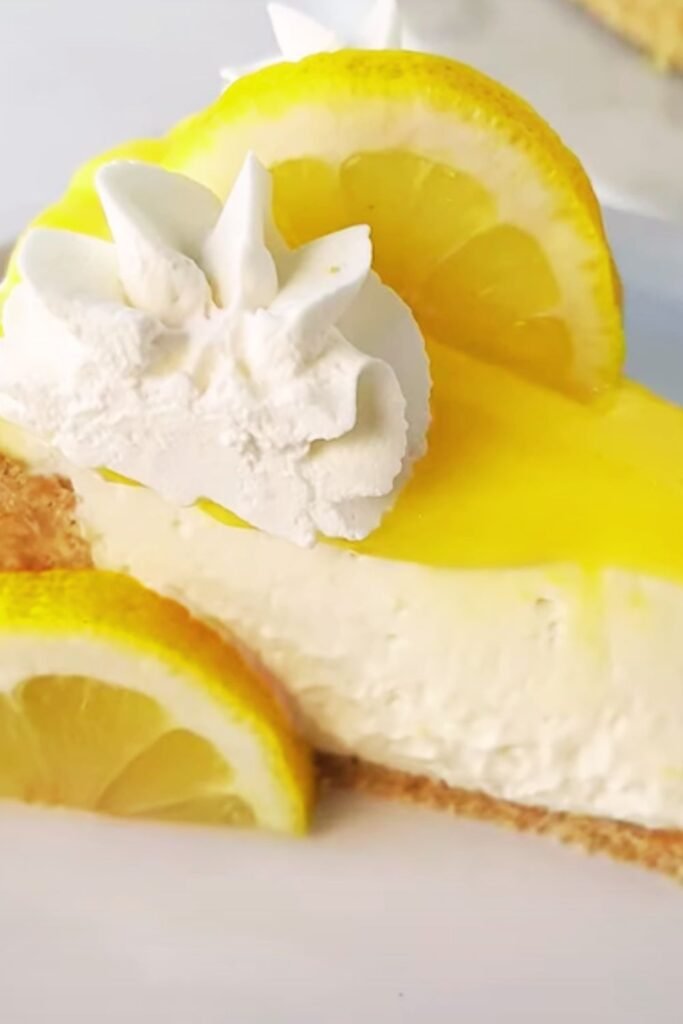
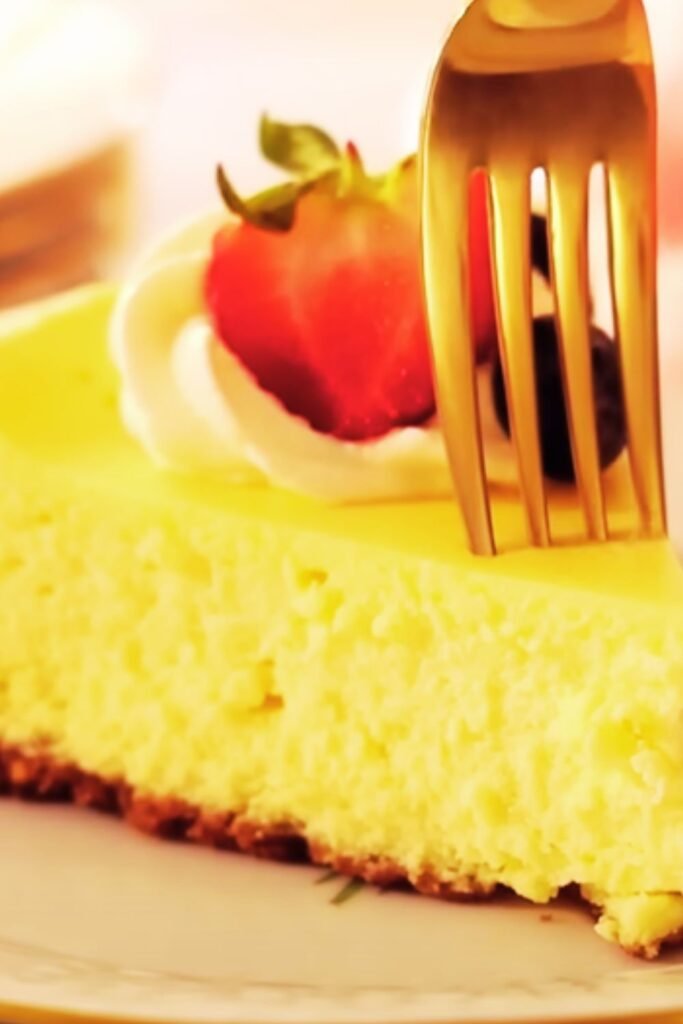
When I first encountered authentic Polish cheesecake during my culinary adventures, I realized I’d been missing out on one of Europe’s most luxurious desserts. Unlike its American counterpart, Royal Polish Cheesecake—or Sernik Królewski—represents centuries of refined baking tradition that transforms simple ingredients into something truly extraordinary.
This isn’t your typical dense, cream cheese-based cheesecake. Polish cheesecake boasts a lighter, more delicate texture that melts beautifully on your tongue while delivering rich, complex flavors that dance between sweet and subtly tangy. The secret lies in using traditional Polish twaróg (farmer’s cheese) or high-quality ricotta, creating a dessert that’s both indulgent and surprisingly refreshing.
I’ve spent countless hours perfecting this recipe, and I’m excited to share every detail that will help you create this masterpiece in your own kitchen. From selecting the perfect cheese to achieving that golden, picture-perfect finish, this guide covers everything you need to know.
Understanding the Magic Behind Polish Cheesecake
Twaróg: The cornerstone ingredient, this fresh white cheese provides the signature texture and flavor. When unavailable, high-quality ricotta serves as an excellent substitute.
Royal Preparation: The “royal” designation comes from the traditional method of incorporating multiple eggs and careful temperature control, creating an exceptionally smooth and luxurious texture.
Vanilla Bean Infusion: Authentic recipes call for real vanilla bean paste or extract, never artificial vanilla, which elevates the flavor profile significantly.
Butter Integration: Unlike American cheesecakes that rely heavily on cream cheese, Polish versions use butter strategically to create richness without overwhelming heaviness.
The beauty of this dessert lies in its versatility. I’ve served it at elegant dinner parties and casual family gatherings, and it never fails to impress. The texture strikes the perfect balance—substantial enough to satisfy but light enough that guests always ask for seconds.
Essential Ingredients and Equipment
Core Ingredients Table
| Ingredient | Quantity | Purpose | Substitution Notes |
|---|---|---|---|
| Farmer’s Cheese (Twaróg) | 2 lbs (900g) | Primary base | Ricotta cheese (well-drained) |
| Large Eggs | 6 whole | Structure and richness | Cannot substitute |
| Granulated Sugar | 1 cup (200g) | Sweetness balance | Caster sugar works well |
| Unsalted Butter | 6 tablespoons | Creamy texture | European-style preferred |
| Vanilla Bean Paste | 2 teaspoons | Flavor enhancement | Pure vanilla extract |
| Heavy Cream | 1/2 cup (120ml) | Smooth consistency | Half-and-half (less rich) |
| Lemon Zest | 1 large lemon | Brightness | Orange zest (different profile) |
| Fine Sea Salt | 1/4 teaspoon | Flavor enhancement | Table salt (use less) |
Crust Components
| Ingredient | Quantity | Purpose | Notes |
|---|---|---|---|
| Graham Crackers | 2 cups crushed | Base structure | Digestive biscuits work well |
| Unsalted Butter | 1/3 cup melted | Binding agent | Must be completely melted |
| Brown Sugar | 3 tablespoons | Sweetness and color | Light brown preferred |
| Ground Cinnamon | 1/2 teaspoon | Warmth and spice | Optional but recommended |
Essential Equipment
My years of baking have taught me that proper equipment makes the difference between good and exceptional results. Here’s what you’ll need:
- 9-inch springform pan: Non-negotiable for easy removal
- Large mixing bowl: Stainless steel or glass preferred
- Electric mixer: Stand mixer ideal, hand mixer acceptable
- Fine-mesh sieve: For perfectly smooth cheese mixture
- Rubber spatula: For gentle folding and scraping
- Kitchen scale: Precision matters in baking
- Parchment paper: Prevents sticking and ensures clean release

Step-by-Step Preparation Guide
Phase 1: Crust Foundation
I always start with the crust because it needs time to set properly. This foundation determines whether your cheesecake will hold together beautifully or fall apart when served.
Crushing the Crackers: Place graham crackers in a food processor and pulse until you achieve fine, even crumbs. I prefer a slightly coarser texture than powder—it provides better structure and more interesting mouthfeel.
Creating the Mixture: In a medium bowl, combine the cracker crumbs with melted butter, brown sugar, and cinnamon. The mixture should hold together when pressed but not feel overly wet or greasy.
Pressing Technique: Press the mixture firmly into the bottom of your springform pan using the bottom of a measuring cup. I create a slight lip around the edges to contain the filling better.
Pre-baking: Bake at 350°F (175°C) for 8-10 minutes until lightly golden. This step prevents a soggy bottom and adds structural integrity.
Phase 2: Cheese Preparation
This stage requires patience and attention to detail. The quality of your cheese mixture directly impacts the final texture.
Straining the Cheese: Press the farmer’s cheese through a fine-mesh sieve twice. This step eliminates lumps and creates the silky texture that makes Polish cheesecake special.
Room Temperature Rule: All dairy ingredients must reach room temperature before mixing. Cold ingredients won’t blend properly and can cause texture issues.
Gradual Sugar Integration: Add sugar gradually while mixing on medium speed. This prevents overmixing and maintains the delicate texture we’re aiming for.
Phase 3: Assembly and Baking
Egg Incorporation: Add eggs one at a time, mixing just until combined after each addition. Overmixing develops gluten and creates a tough texture.
Final Additions: Gently fold in vanilla, lemon zest, and cream using a rubber spatula. The motion should be deliberate but gentle.
Pouring Technique: Pour the filling slowly into the center of the crust, allowing it to spread naturally. This prevents air bubbles and ensures even distribution.

Advanced Baking Techniques
Temperature Control Strategy
| Phase | Temperature | Duration | Purpose |
|---|---|---|---|
| Initial Bake | 425°F (220°C) | 15 minutes | Sets the edges |
| Reduced Bake | 225°F (110°C) | 50-60 minutes | Gentle cooking |
| Cooling Phase | Oven off, door ajar | 1 hour | Prevents cracking |
| Final Cool | Room temperature | 2 hours | Complete setting |
The temperature reduction technique I use prevents the dramatic temperature shock that causes most cheesecake cracks. Starting high sets the structure, while the low temperature gently cooks the interior without overcooking the edges.
Water Bath Method
I strongly recommend using a water bath (bain-marie) for the most professional results. Wrap your springform pan in heavy-duty aluminum foil, place it in a larger roasting pan, and add hot water halfway up the sides. This creates a humid environment that prevents cracking and ensures even cooking.
Doneness Testing
The center should still jiggle slightly when gently shaken—it will continue cooking from residual heat. A toothpick inserted near the center should come out with just a few moist crumbs attached.
Troubleshooting Common Issues
Cracking Prevention
Cracks occur from temperature shock or overbaking. My foolproof method involves:
- Gradual temperature reduction
- Extended cooling in the oven
- Room temperature ingredients
- Proper water bath setup
Texture Problems
Grainy Texture: Usually results from insufficient straining of the cheese or overmixing. Always double-strain your cheese and mix only until ingredients are just combined.
Dense Results: Often caused by using too much sugar or overbaking. Follow the temperature guidelines precisely and test for doneness carefully.
Soggy Crust: Prevents by pre-baking the crust and ensuring proper cooling before adding filling.

Serving and Storage Guidelines
Optimal Serving Conditions
I always serve Polish cheesecake slightly chilled but not ice-cold. Remove it from the refrigerator 15-20 minutes before serving to allow the flavors to bloom and the texture to soften slightly.
Garnish Recommendations
Traditional accompaniments enhance rather than mask the delicate cheese flavor:
- Fresh berry compote
- Light dusting of powdered sugar
- Thin slices of fresh fruit
- Delicate mint leaves
- Honey drizzle (sparingly)
Storage Best Practices
| Storage Method | Duration | Quality Notes |
|---|---|---|
| Refrigerated (covered) | 5-7 days | Peak quality first 3 days |
| Frozen (wrapped well) | 2-3 months | Texture slightly changes |
| Room Temperature | 2 hours maximum | Food safety concern |
Always cover the cheesecake with plastic wrap directly on the surface to prevent a skin from forming, then cover the entire pan with additional wrap or foil.
Seasonal Variations and Flavor Adaptations
Spring Inspiration
During spring, I incorporate lemon curd swirls or fresh strawberry pieces into the batter. The brightness complements the rich cheese beautifully.
Summer Additions
Fresh blueberries or peach pieces folded gently into the mixture create delightful bursts of seasonal flavor without overwhelming the base.
Autumn Warmth
A touch of cinnamon and nutmeg, along with a gingersnap crust instead of graham crackers, creates a cozy fall variation.
Winter Comfort
Chocolate chips or a ribbon of melted dark chocolate through the batter transforms this into a decadent winter dessert.
Nutritional Considerations
Healthier Modifications
While I believe in enjoying desserts in their traditional glory, I understand the desire for lighter versions. Here are modifications that maintain the essential character:
Reduced Fat Options: Substitute low-fat ricotta and reduce butter by half. The texture will be slightly less rich but still delicious.
Sugar Alternatives: Natural sweeteners like maple syrup or honey can replace up to half the sugar, though they’ll alter the flavor profile slightly.
Portion Control: This rich dessert satisfies in smaller portions. I often serve thinner slices with fresh fruit to create a more balanced presentation.
Cultural Context and Traditions
Polish cheesecake holds deep significance in Polish culture, traditionally served during Easter celebrations and special family gatherings. The recipe has been passed down through generations, with each family adding their own subtle variations.
In Poland, the quality of the twaróg often determines the cheesecake’s success. Families take pride in sourcing the freshest, highest-quality cheese, and many still make their own. This connection to ingredient quality is something I try to honor in my own baking.
The “royal” designation isn’t just marketing—it reflects the careful attention and premium ingredients that elevate this dessert above everyday sweets. When you serve this cheesecake, you’re sharing a piece of culinary history.
Questions and Answers
Q: Can I make this cheesecake without a springform pan? I don’t recommend it. The springform pan is essential for easy removal without damaging the delicate structure. A regular cake pan will likely result in broken edges and frustrated attempts at serving.
Q: How far in advance can I make this cheesecake? This is actually one of those wonderful desserts that improves with time. I often make it 2-3 days ahead of serving. The flavors meld beautifully, and the texture becomes even more luxurious.
Q: What’s the difference between Polish cheesecake and New York style? Polish cheesecake uses farmer’s cheese instead of cream cheese, resulting in a lighter, less dense texture. It’s also less sweet and has a more complex, nuanced flavor profile.
Q: My farmer’s cheese seems dry. How can I fix this? Add an extra tablespoon or two of heavy cream during mixing. The cheese’s moisture content can vary, and slight adjustments are normal.
Q: Can I use frozen berries in the batter? Fresh berries work best, but if using frozen, don’t thaw them first. Add them directly to the batter while still frozen to prevent color bleeding and excess moisture.
Q: Why did my cheesecake crack despite following the recipe? Cracking usually results from temperature shock. Ensure all ingredients are at room temperature, avoid overmixing, and follow the cooling process exactly as described.
Q: Is it normal for the cheesecake to be slightly jiggly when done? Yes! A slight jiggle in the center is perfect. It will continue setting as it cools. Overbaking creates a grainy, dry texture.
Q: Can I make mini cheesecakes using this recipe? Absolutely! Use a muffin tin lined with paper cups. Reduce baking time to 18-22 minutes at 325°F (165°C). They make elegant individual desserts.
This Royal Polish Cheesecake represents more than just a dessert—it’s a celebration of traditional craftsmanship and the joy of creating something truly special in your own kitchen. The time and care you invest will be rewarded with a dessert that creates lasting memories for everyone who tastes it.
Every time I make this cheesecake, I’m reminded of why I fell in love with baking in the first place. There’s something magical about transforming simple ingredients into something so elegant and satisfying. I hope this recipe brings the same joy to your kitchen that it has brought to mine.