When I first discovered the magic of combining three distinct cheeses with perfectly grilled chicken, my sandwich game changed forever. This isn’t just another chicken sandwich – it’s a symphony of flavors that transforms simple ingredients into something extraordinary. After countless experiments in my kitchen, I’ve perfected this recipe that delivers restaurant-quality results in just 45 minutes.
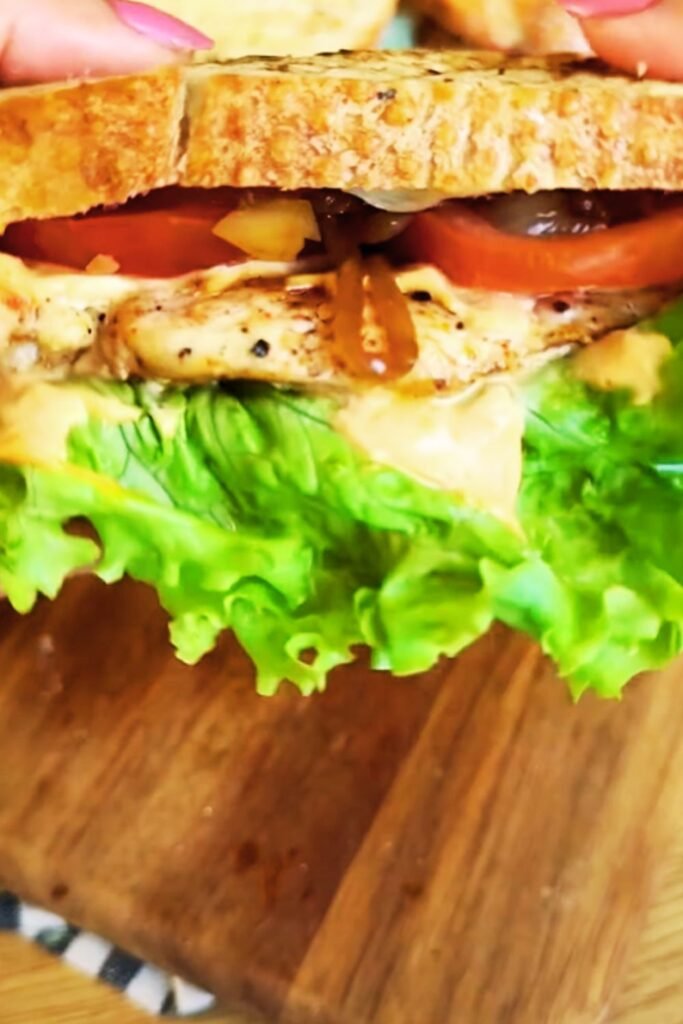
The beauty of this grilled chicken three-cheese sandwich lies in its perfect balance of textures and flavors. The crispy exterior gives way to melted cheese that stretches with every bite, while the juicy grilled chicken provides that satisfying protein punch we all crave. I’ve found that the key to success lies in selecting the right cheese combination and mastering the grilling technique.
Understanding the Perfect Cheese Trio
Sharp Cheddar: This cheese brings that bold, tangy flavor that cuts through richness while providing excellent melting properties.
Creamy Mozzarella: The mild, stretchy texture of mozzarella creates those Instagram-worthy cheese pulls while adding smoothness.
Swiss Cheese: With its nutty undertones and subtle holes, Swiss adds complexity and prevents the sandwich from becoming too heavy.
The science behind this combination fascinates me. Each cheese melts at different temperatures, creating layers of flavor that develop as you eat. Sharp cheddar begins melting around 150°F, mozzarella at 130°F, and Swiss at 140°F. This temperature variance ensures that each cheese maintains its distinct character while blending harmoniously.
Essential Ingredients and Quality Selection
| Ingredient | Quantity | Quality Tips | Purpose |
|---|---|---|---|
| Chicken Breast | 2 large pieces (8 oz each) | Look for organic, free-range when possible | Primary protein, absorbs marinades well |
| Sharp Cheddar | 4 oz, sliced | Aged 6-12 months for best flavor | Provides sharp, tangy base |
| Fresh Mozzarella | 4 oz, sliced | Avoid pre-shredded; use whole milk variety | Creates creamy texture and stretch |
| Swiss Cheese | 3 oz, sliced | Choose Emmental or Gruyère for premium taste | Adds nutty complexity |
| Sourdough Bread | 8 thick slices | Day-old bread works best for grilling | Provides sturdy base with tangy flavor |
| Olive Oil | 3 tablespoons | Extra virgin for best flavor | For grilling and brushing |
| Butter | 2 tablespoons | European-style preferred | Creates golden crust |
| Garlic Powder | 1 teaspoon | Fresh ground preferred | Enhances overall flavor |
| Paprika | 1 teaspoon | Hungarian sweet paprika ideal | Adds color and mild smokiness |
| Salt | 1 teaspoon | Sea salt or kosher salt | Essential for seasoning |
| Black Pepper | 1/2 teaspoon | Freshly ground | Provides heat and aroma |
| Fresh Thyme | 1 tablespoon | Dried can substitute (1 tsp) | Aromatic herb enhancement |
When I shop for ingredients, I always prioritize quality over quantity. The chicken breast should feel firm to the touch with no slimy texture. For cheese, I recommend visiting a local deli or cheese shop where you can taste before buying. The bread makes a significant difference – sourdough’s tangy flavor complements the cheese trio perfectly.

Preparation Timeline and Organization
Total Time: 45 minutes
- Prep time: 15 minutes
- Marinating time: 15 minutes
- Cooking time: 15 minutes
I’ve learned that timing is everything with this recipe. Starting the chicken marinade first allows the flavors to penetrate while you prepare other components. This systematic approach ensures everything comes together seamlessly.
Marinade Preparation
The marinade serves multiple purposes: tenderizing the chicken, infusing flavor, and creating a beautiful golden color when grilled. I combine olive oil, garlic powder, paprika, salt, pepper, and fresh thyme in a shallow dish. The oil helps distribute the spices evenly while preventing the chicken from sticking to the grill.
Marinade Components:
- 2 tablespoons olive oil
- 1 teaspoon garlic powder
- 1 teaspoon paprika
- 1/2 teaspoon salt
- 1/4 teaspoon black pepper
- 1 tablespoon fresh thyme leaves
Pound the chicken breasts to an even thickness of about 3/4 inch. This ensures uniform cooking and prevents dry edges while the center remains undercooked. I use a meat mallet, but a rolling pin works just as well. Place the chicken in the marinade, turning to coat completely, and let it rest for at least 15 minutes.
Step-by-Step Cooking Process
Grilling the Chicken
- Preheat your grill pan or outdoor grill to medium-high heat. I prefer using a cast-iron grill pan for indoor cooking as it retains heat evenly and creates beautiful grill marks.
- Remove chicken from marinade and let excess drip off. Don’t discard the marinade – you’ll use it for basting.
- Grill for 6-7 minutes on the first side without moving the chicken. This creates those coveted grill marks and helps seal in juices.
- Flip and grill for another 5-6 minutes, basting with remaining marinade. The internal temperature should reach 165°F when measured with a meat thermometer.
- Rest the chicken for 5 minutes before slicing. This allows juices to redistribute, ensuring moist, tender meat.
Cheese Preparation Strategy
While the chicken rests, I prepare the cheese layers. The order matters significantly for optimal melting:
Bottom Layer: Swiss cheese goes directly on the bread. Its lower melting point ensures it becomes creamy first.
Middle Layer: Mozzarella creates the stretchy center that holds everything together.
Top Layer: Sharp cheddar provides the final punch of flavor and browns beautifully.
This layering technique ensures each cheese melts properly without burning or remaining solid. I’ve experimented with different arrangements, and this sequence consistently produces the best results.
Bread Preparation and Assembly
Sourdough bread requires proper preparation to achieve that perfect golden crust without burning. I brush each slice lightly with olive oil on the outside and butter on the inside. This combination creates a crispy exterior while the butter adds richness and helps the cheese adhere to the bread.
Assembly Order:
- Buttered bread slice (butter side down in pan)
- Swiss cheese layer
- Sliced grilled chicken
- Mozzarella layer
- Sharp cheddar layer
- Top bread slice (butter side up)
Cooking Techniques for Perfect Results
Temperature Control
Temperature control separates good sandwiches from great ones. I use medium-low heat for the final grilling phase. High heat will burn the bread before the cheese melts completely, while too low heat creates soggy bread without proper browning.
The ideal cooking temperature hovers around 325°F if you’re using an electric griddle, or medium-low on a stovetop. I test the temperature by sprinkling a few drops of water on the surface – they should sizzle and evaporate within 2-3 seconds.
The Press and Flip Method
I employ a gentle pressing technique using a spatula to ensure even contact between bread and cooking surface. Too much pressure squeezes out the melted cheese, while too little creates uneven browning.
Cooking Timeline:
- First side: 3-4 minutes with gentle pressing
- Flip carefully using two spatulas
- Second side: 2-3 minutes until golden brown
- Final rest: 1 minute before cutting
Nutritional Information and Health Benefits
| Nutrient | Per Sandwich | Daily Value % |
|---|---|---|
| Calories | 685 | 34% |
| Protein | 48g | 96% |
| Total Fat | 35g | 54% |
| Saturated Fat | 18g | 90% |
| Carbohydrates | 42g | 14% |
| Fiber | 3g | 12% |
| Sodium | 1,240mg | 52% |
| Calcium | 550mg | 55% |
| Iron | 3.2mg | 18% |
| Vitamin A | 420 IU | 8% |
This sandwich provides excellent protein content, essential for muscle maintenance and growth. The three cheeses contribute significant calcium for bone health, while the chicken supplies all essential amino acids. The sourdough bread adds beneficial probiotics and has a lower glycemic index compared to regular white bread.
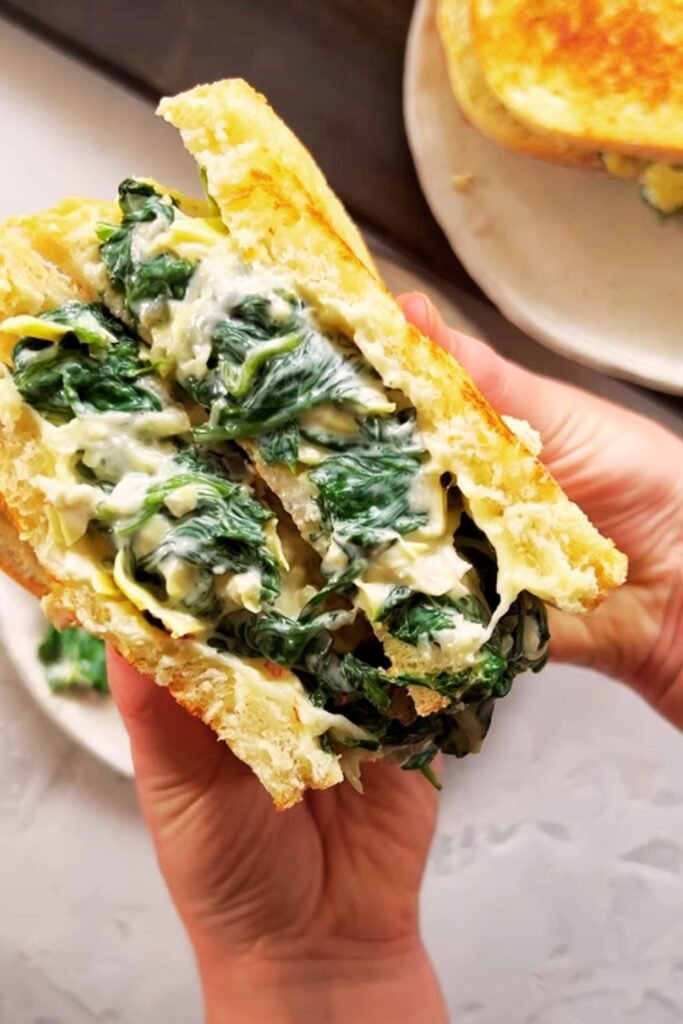
To make this sandwich healthier, I sometimes substitute whole grain sourdough and add fresh spinach or arugula for extra nutrients and fiber. The beauty of this recipe lies in its adaptability to different dietary needs.
Variations and Customization Options
Cheese Alternatives
Premium Upgrade: Replace Swiss with aged Gruyère and mozzarella with fresh burrata for an elevated experience.
Lighter Version: Use part-skim mozzarella, reduced-fat sharp cheddar, and substitute Swiss with provolone.
Bold Flavor: Add smoked gouda instead of Swiss for a more intense, smoky taste.
Protein Variations
Turkey Option: Substitute grilled turkey breast using the same marinade and cooking method.
Vegetarian Version: Replace chicken with grilled portobello mushrooms marinated in balsamic vinegar and herbs.
Bacon Addition: Add 2-3 strips of crispy bacon for extra smokiness and crunch.
Bread Alternatives
| Bread Type | Flavor Profile | Best Pairing |
|---|---|---|
| Brioche | Rich, buttery | Works well with all cheese combinations |
| Whole Grain | Nutty, hearty | Complements the Swiss cheese particularly well |
| Focaccia | Herby, olive oil | Enhances the Italian influence of mozzarella |
| Rye | Tangy, dense | Creates interesting contrast with sharp cheddar |
| Ciabatta | Light, airy | Allows cheese flavors to dominate |
Serving Suggestions and Pairings
I always serve this sandwich with complementary sides that don’t compete with the rich cheese flavors. My favorite combinations include:
Classic Pairings:
- Crispy sweet potato fries with rosemary
- Fresh coleslaw with light vinaigrette
- Dill pickle spears for acidity balance
- Tomato basil soup for dunking
Lighter Options:
- Mixed green salad with lemon vinaigrette
- Fresh fruit salad with mint
- Vegetable chips for crunch
- Cucumber water with herbs
Comfort Food Style:
- Loaded potato wedges
- Onion rings with herb aioli
- Mac and cheese bites
- Fresh lemonade or iced tea
The key is balancing the richness of the sandwich with lighter, acidic, or fresh accompaniments. I avoid heavy, creamy sides that might overwhelm the palate.
Storage and Reheating Tips
While this sandwich tastes best fresh, I’ve developed techniques for storing and reheating that maintain quality:
Storage Method:
- Wrap individual sandwiches in parchment paper
- Store in refrigerator for up to 2 days
- Keep components separate if planning to store longer
Reheating Techniques:
- Oven method: 350°F for 10-12 minutes wrapped in foil
- Skillet method: Medium-low heat with lid for 3-4 minutes per side
- Avoid microwave as it makes bread soggy
For meal prep, I sometimes grill the chicken in advance and store it separately. Fresh assembly takes only minutes and ensures the bread remains crispy.
Troubleshooting Common Issues
Problem: Cheese not melting evenly Solution: Lower heat and cover the pan for the last minute of cooking
Problem: Bread burning before cheese melts Solution: Reduce heat and extend cooking time; use a heat diffuser if necessary
Problem: Sandwich falling apart Solution: Let it rest for 1-2 minutes after cooking; use toothpicks if needed
Problem: Chicken too dry Solution: Don’t skip the marinade time; avoid overcooking; pound to even thickness
Problem: Sandwich too greasy Solution: Use less butter; pat chicken dry after marinating; drain on paper towels briefly
These issues usually stem from temperature control or timing problems. I’ve found that patience and proper heat management solve most sandwich-making challenges.
Advanced Tips for Restaurant-Quality Results
After making this sandwich hundreds of times, I’ve discovered several professional techniques that elevate the final product:
Compound Butter: Mix softened butter with fresh herbs, garlic, and a pinch of salt. This creates more complex flavors than plain butter.
Cheese Grating: Grate hard cheeses like cheddar instead of slicing for more even melting and distribution.
Resting Temperature: Let ingredients come to room temperature before assembly. Cold cheese takes longer to melt and can result in overcooked bread.
Steam Technique: Add a tablespoon of water to the pan and immediately cover for 30 seconds. This creates steam that helps melt the top layer of cheese perfectly.
Quality Control: Taste each component before assembly. The chicken should be well-seasoned, the cheese at proper temperature, and the bread fresh.
Q&A Section
Q: Can I prepare this sandwich ahead of time for a party? I recommend preparing components separately and assembling just before cooking. The chicken can be grilled up to 24 hours in advance, cheese can be pre-sliced, and bread can be pre-buttered. This approach maintains the best texture and prevents soggy bread.
Q: What’s the best way to slice the finished sandwich? I always use a sharp serrated knife and cut in a gentle sawing motion. Cutting straight down can compress the sandwich and squeeze out the melted cheese. Let the sandwich rest for 2-3 minutes before cutting for the cleanest slices.
Q: Can I make this sandwich without a grill? Absolutely! A regular skillet works perfectly. You can also use a panini press, George Foreman grill, or even bake it in the oven at 375°F for 12-15 minutes, flipping halfway through.
Q: How do I prevent the cheese from leaking out during cooking? Keep the cheese slightly away from the edges of the bread, and don’t overstuff the sandwich. If cheese does leak out, it will create a crispy cheese “skirt” around the sandwich that’s actually delicious!
Q: What can I substitute for sourdough bread? Any sturdy bread works well. Texas toast, thick-cut Italian bread, or even a good quality sandwich bread will do. The key is choosing something that won’t become soggy under the weight of the ingredients.
Q: Is there a dairy-free version of this recipe? Yes! Use your favorite dairy-free cheese alternatives. I recommend using three different types to maintain the flavor complexity – perhaps a sharp cheddar alternative, a mozzarella-style cheese, and a Swiss-style option.
Q: How do I know when the chicken is perfectly cooked? The internal temperature should reach 165°F when measured with a meat thermometer in the thickest part. Visually, the juices should run clear, and the meat should no longer be pink. If you don’t have a thermometer, the chicken should feel firm but not hard when pressed gently.
Q: Can I add vegetables to this sandwich? Certainly! Thinly sliced tomatoes, caramelized onions, or fresh spinach work wonderfully. Add vegetables that won’t release too much moisture during cooking. If using tomatoes, salt them lightly and let them drain for 10 minutes before adding to the sandwich.
Q: What’s the secret to getting perfect grill marks on the chicken? Make sure your grill or grill pan is properly preheated, don’t move the chicken once you place it down, and ensure the surface is clean and lightly oiled. The chicken should sizzle when it hits the surface. Resist the urge to press down on the chicken – this squeezes out juices.
Q: How can I make this sandwich spicier? Add cayenne pepper to the marinade, include sliced jalapeños, use pepper jack cheese as one of your three cheeses, or spread a thin layer of hot sauce or sriracha on the bread before assembly. Start with small amounts and adjust to your heat preference.
This grilled chicken three-cheese sandwich has become my go-to recipe when I want to impress guests or treat myself to something special. The combination of perfectly seasoned chicken, three complementary cheeses, and crispy sourdough creates a memorable meal that satisfies on every level. Whether you’re making it for a casual lunch or a weekend dinner, this recipe delivers consistent, restaurant-quality results that will have everyone asking for seconds.