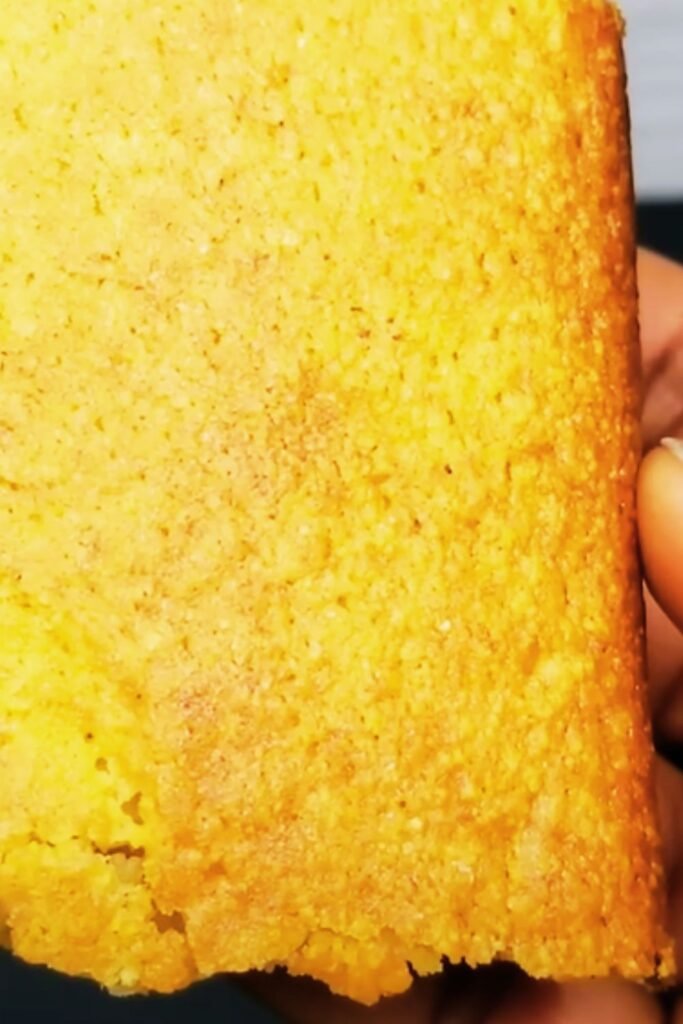
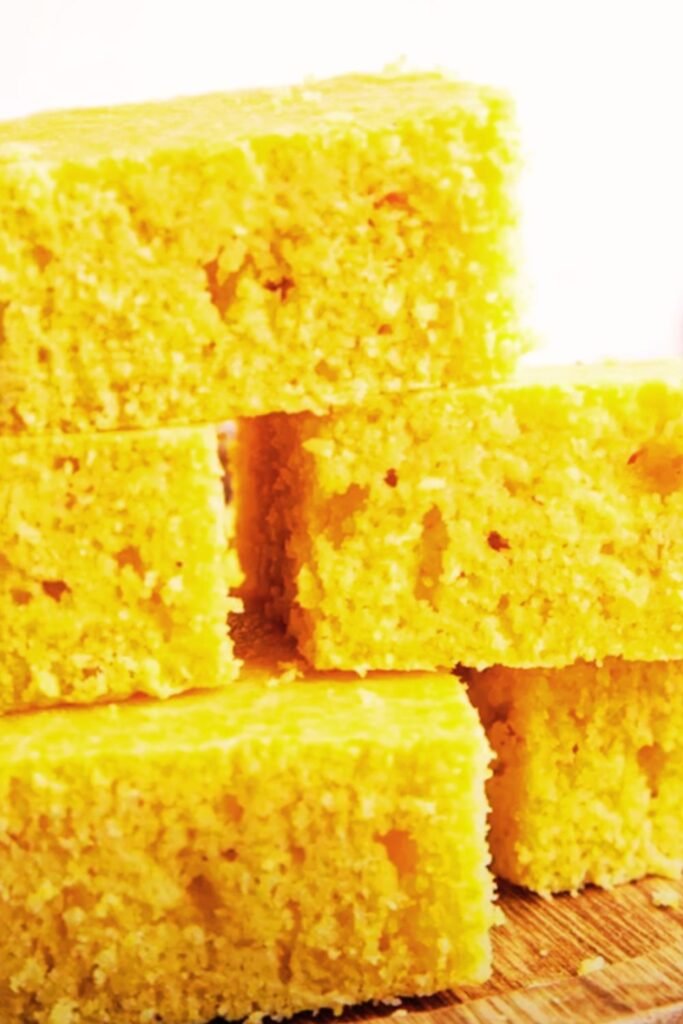
There’s something undeniably comforting about biting into a warm slice of cornbread with its golden crust and tender crumb. When I’m at my seaside cottage, these mini loaf cornbreads have become my signature dish, earning rave reviews from family and friends alike. The individual loaves aren’t just adorable – they’re practical too, offering the perfect portion and that coveted crispy edge in every serving.
Growing up in the coastal South, cornbread was a staple at my grandmother’s table. I’ve taken her cherished recipe and given it a modern twist with these mini loaves that pair perfectly with seafood chowders, hearty stews, or simply enjoyed with a generous spread of butter and local honey.
Let me walk you through creating these delightful mini cornbread loaves that bring a touch of seaside comfort to any meal.
Why You’ll Love These Mini Cornbread Loaves
Before diving into the recipe, let me share why these little loaves have become my go-to cornbread format:
- Perfect Crust-to-Crumb Ratio: The mini loaf pans create more surface area, giving you more of that deliciously crispy crust in each serving
- Ideal Portion Control: Individual loaves eliminate the mess of cutting a large pan
- Freezer-Friendly: Make a batch and freeze extras for quick sides on busy weeknights
- Customizable: Each loaf can be topped or filled differently to please various palates
- Impressive Presentation: Mini loaves elevate the humble cornbread to centerpiece status
- Great for Gifts: Wrap in parchment with a ribbon for a heartwarming homemade gift
The Secret to Perfect Cornbread Texture
In my years of cornbread experimentation, I’ve discovered that texture is everything. Some prefer a cakey, sweet Northern-style cornbread, while others swear by the crumblier, less sweet Southern approach. These mini loaves strike a beautiful balance – moist yet structured, with enough integrity to hold up to hearty soups without dissolving.
The key lies in the ratio of cornmeal to flour. Too much cornmeal creates a gritty texture that crumbles apart, while too much flour results in something closer to cake than cornbread. My recipe uses a 1:1 ratio that delivers that quintessential cornbread texture – substantial enough to satisfy but tender enough to melt in your mouth.
Ingredients for Mini Loaf Cornbread
For 6 mini loaves (using standard mini loaf pans – approximately 5¾” × 3″ × 2¼”):
- 1 cup yellow cornmeal (fine or medium grind)
- 1 cup all-purpose flour
- ¼ cup granulated sugar (adjust to taste)
- 1 tablespoon baking powder
- ½ teaspoon baking soda
- 1 teaspoon salt
- 2 large eggs, at room temperature
- 1¼ cups buttermilk, at room temperature
- ⅓ cup unsalted butter, melted and slightly cooled
- 3 tablespoons honey
- 2 tablespoons vegetable oil (for greasing pans)
Optional Mix-ins (choose your favorites):
- ¾ cup fresh or frozen corn kernels
- ½ cup shredded sharp cheddar cheese
- 2-3 tablespoons chopped jalapeños (seeds removed for milder heat)
- ¼ cup chopped fresh herbs (chives, thyme, or rosemary work beautifully)
- ¼ cup crumbled bacon
Equipment You’ll Need
- Mini loaf pan set (6 cavities) or individual mini loaf pans
- Two mixing bowls (one for dry ingredients, one for wet)
- Whisk
- Silicone spatula
- Measuring cups and spoons
- Wire cooling rack
Step-by-Step Instructions
Preparation
- Preheat your oven to 400°F (205°C).
- Generously oil each cavity of your mini loaf pan. I’ve found that a thin coating of vegetable oil creates a beautiful crust better than cooking spray or butter.
- If using mix-ins like jalapeños or fresh herbs, chop them finely and set aside.
Making the Batter
- In a large bowl, whisk together the cornmeal, flour, sugar, baking powder, baking soda, and salt until well combined.
- In a separate bowl, beat the eggs lightly, then whisk in the buttermilk, melted butter, and honey until smooth.
- Make a well in the center of the dry ingredients and pour in the wet mixture.
- Using a silicone spatula, fold the ingredients together with gentle strokes until just combined. A few small lumps are perfectly fine – overmixing will make your cornbread tough.
- If using any mix-ins, gently fold them into the batter now.
Baking
- Divide the batter evenly among the prepared mini loaf pans, filling each about two-thirds full.
- For a beautiful presentation, sprinkle a few corn kernels or herb leaves on top before baking.
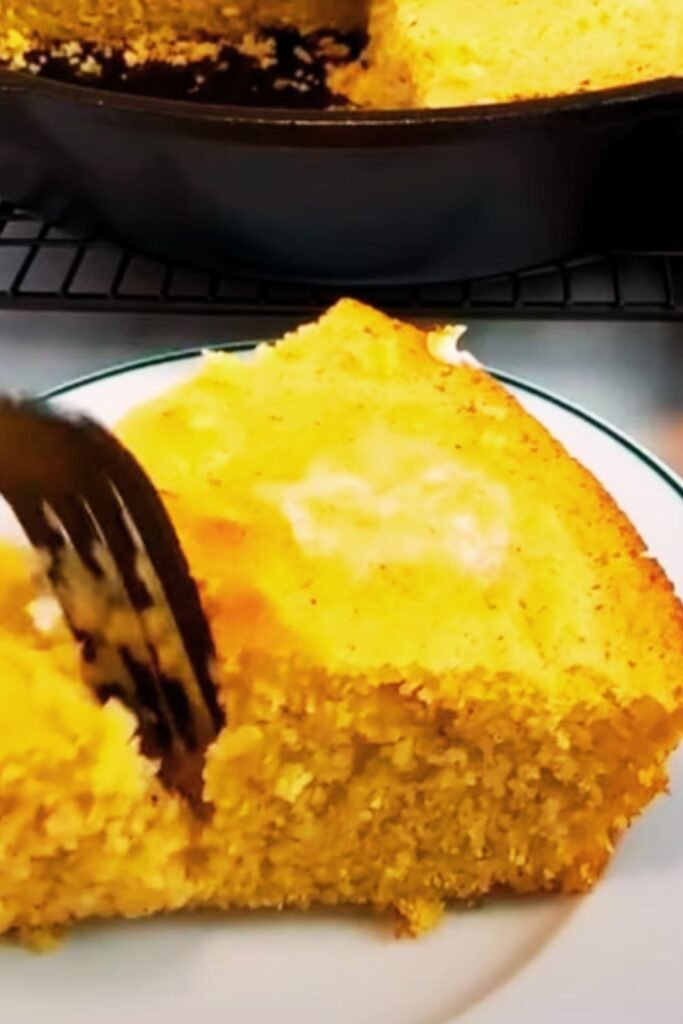
- Place in the preheated oven and bake for 15-18 minutes, or until the tops are golden brown and a toothpick inserted into the center comes out clean or with just a few moist crumbs.
- Allow the loaves to cool in the pan for 5 minutes before transferring them to a wire rack.
Perfect Timing
The exact baking time depends on your oven and the size of your mini loaf pans. After years of baking these, I’ve found that the sweet spot is usually around 16 minutes in my oven, but start checking at the 15-minute mark. You want the edges to be golden and slightly pulling away from the sides of the pan.
Variations to Try
One of the things I love most about this recipe is its versatility. Here are some of my favorite variations I’ve developed over the years:
Savory Variations
| Variation | Additional Ingredients | Special Instructions |
|---|---|---|
| Herb Garden | 2 tbsp fresh thyme + 1 tbsp rosemary + 2 tbsp chives | Chop herbs finely and add to batter; sprinkle extra on top before baking |
| Jalapeño Cheddar | ½ cup shredded cheddar + 2 tbsp diced jalapeños | Reserve some cheese to sprinkle on top before baking |
| Bacon & Green Onion | ¼ cup crumbled cooked bacon + 3 tbsp chopped green onions | Bacon must be fully cooked and cooled before adding |
| Garlic Parmesan | 2 minced garlic cloves (sautéed) + ⅓ cup grated parmesan | Sauté garlic in 1 tbsp butter until fragrant before adding |
| Sun-Dried Tomato & Basil | ¼ cup chopped sun-dried tomatoes + 2 tbsp fresh basil | Drain oil from tomatoes thoroughly before adding |
Sweet Variations
| Variation | Additional Ingredients | Special Instructions |
|---|---|---|
| Honey Butter | Additional 2 tbsp honey + honey butter for serving | Brush tops with honey butter while still warm |
| Blueberry | ⅔ cup fresh blueberries | Toss berries in 1 tbsp flour before folding in to prevent sinking |
| Orange Cranberry | ⅓ cup dried cranberries + 1 tbsp orange zest | Soak cranberries in orange juice for 10 minutes before adding |
| Brown Butter | Replace regular melted butter with browned butter | Allow browned butter to cool slightly before adding |
| Maple Pecan | 3 tbsp maple syrup (reduce honey) + ¼ cup chopped pecans | Toast pecans for 5 minutes at 350°F before adding |
Serving Suggestions
These mini loaves are incredibly versatile and pair beautifully with so many dishes. Here are my favorite ways to serve them:
Perfect Pairings:
- Alongside a steaming bowl of seafood chowder
- With classic chili (the mini loaf size is perfect for individual servings)
- Accompanying barbecue ribs or pulled pork
- As a side to hearty vegetable soups or stews
- With fried chicken and collard greens for a Southern-inspired meal
- Broken into chunks and used as a base for cornbread stuffing
- Topped with shrimp and creamy sauce for a twist on shrimp and grits
Toppings and Spreads:
- Whipped honey butter (my personal favorite)
- Jalapeño jelly for a sweet-heat combination
- Apple butter for a fall-inspired treat
- Herb-infused olive oil for dipping
- Cream cheese with chives
- Fruit preserves for a sweet breakfast option
Storage and Make-Ahead Tips
One of the beauties of these mini loaves is how well they store. Here’s how I manage them:
Freshly Baked Storage:
- Room Temperature: Store in an airtight container for up to 2 days
- Refrigerator: Keep for up to 5 days in a sealed container
- Freezer: Wrap individual loaves tightly in plastic wrap, then aluminum foil, and freeze for up to 3 months
Reheating Instructions:
- From Room Temperature: Wrap in foil and warm in a 300°F oven for 5-7 minutes
- From Refrigerated: Wrap in foil and warm in a 300°F oven for 8-10 minutes
- From Frozen: Thaw overnight in refrigerator, then reheat as above, or reheat frozen loaves in a 300°F oven for 15-20 minutes
Common Issues and Solutions
Over the years, I’ve encountered most cornbread problems and found solutions. Here’s my troubleshooting guide:
| Problem | Possible Cause | Solution |
|---|---|---|
| Dry Cornbread | Overbaking or too much cornmeal | Reduce baking time by 2 minutes or adjust cornmeal-to-flour ratio |
| Too Crumbly | Not enough binding ingredients | Add an extra tablespoon of melted butter or an extra egg white |
| Dense Texture | Overmixing the batter | Mix just until ingredients are combined; a few lumps are good! |
| Not Rising Properly | Old leavening agents or too-cold ingredients | Check expiration dates on baking powder/soda; bring ingredients to room temperature |
| Sticking to Pan | Insufficient greasing | Use both oil and flour, or consider parchment paper liners |
| Burnt Edges but Uncooked Center | Oven temperature too high | Reduce temperature by 25°F and extend baking time slightly |
| Pale Crust | Not enough heat or sugar | Increase oven temperature by 25°F or add 1 tbsp more sugar to the recipe |
Nutrition Information
While cornbread is definitely a treat, it’s helpful to know what you’re consuming. Each mini loaf (without mix-ins) contains approximately:
| Nutrient | Amount per Mini Loaf |
|---|---|
| Calories | 245 |
| Total Fat | 11g |
| Saturated Fat | 5.5g |
| Cholesterol | 62mg |
| Sodium | 415mg |
| Total Carbohydrates | 32g |
| Dietary Fiber | 1.5g |
| Sugars | 8g |
| Protein | 5g |
The History Behind My Recipe
My cornbread journey began with my grandmother’s cast-iron skillet version, which she made almost daily to accompany whatever soup or stew was simmering on her stove. When I moved to my seaside cottage, I wanted to honor her recipe but adapt it for more modern entertaining.
The mini loaf idea came during a beach picnic when I realized individual portions would be much easier to pack and serve. What started as a practical solution became my signature dish, evolving over the years as I experimented with different ingredients and techniques.
Living by the ocean has influenced my cooking in countless ways. The sea air seems to sharpen the appetite, and there’s something about the rhythm of the waves that makes me patient enough to perfect recipes like this one. The cornmeal I use is stone-ground from a local mill, which I believe makes all the difference in the texture and flavor.
Seasonal Adaptations
I love adjusting my cornbread based on the seasons:
- Spring: Fold in fresh herbs and edible flowers from my garden
- Summer: Add fresh corn kernels cut straight from the cob and diced bell peppers
- Fall: Incorporate diced apples and a pinch of cinnamon
- Winter: Mix in roasted garlic and rosemary for a heartier version that pairs with winter stews
Questions & Answers
Q: Can I make this recipe in a regular loaf pan instead of mini loaves?
Absolutely! You can use a standard 9×5-inch loaf pan, but you’ll need to adjust the baking time to about 25-30 minutes. Start checking for doneness at the 25-minute mark.
Q: Is there a substitute for buttermilk if I don’t have any on hand?
Yes! For each cup of buttermilk, you can use 1 cup of regular milk mixed with 1 tablespoon of lemon juice or white vinegar. Let it sit for 5-10 minutes until slightly thickened before using.
Q: Can I make this recipe gluten-free?
I’ve successfully made gluten-free versions by substituting the all-purpose flour with a 1:1 gluten-free baking flour blend. Make sure your cornmeal is also certified gluten-free, as some brands may have cross-contamination.
Q: How do I know when the cornbread is perfectly done?
The tops should be golden brown, and a toothpick inserted into the center should come out clean or with just a few moist crumbs. The edges will also begin to pull away slightly from the sides of the pan.
Q: Can I reduce the sugar for a more savory cornbread?
Absolutely! The sugar can be reduced to as little as 1 tablespoon if you prefer a less sweet cornbread. This is particularly nice for savory variations.
Q: My cornbread sometimes has a bitter aftertaste. What causes this?
Too much baking powder or baking soda can cause bitterness. Make sure you’re measuring accurately, and don’t be tempted to add extra leavening agents thinking it will make the bread rise more.
Q: Can I use coarse cornmeal instead of fine or medium?
You can, but it will give your cornbread a more rustic, crunchy texture. If using coarse cornmeal, I recommend soaking it in the buttermilk for about 10 minutes before mixing with other ingredients to soften the grains slightly.
Q: Why did my cornbread turn out dry?
Cornbread can dry out if it’s overbaked or if the ratio of dry to wet ingredients is off. Try reducing the baking time by 2 minutes next time, or add an extra tablespoon of melted butter to the batter.
Final Thoughts
These mini loaf cornbreads have become much more than just a side dish in my seaside kitchen – they’re a tradition that brings everyone together. There’s something magical about breaking open a warm, golden loaf and watching the steam rise as you spread a pat of butter that melts instantly into the crumb.
What I love most about this recipe is how it connects me to both my Southern roots and my coastal present. The cornmeal represents generations of family tradition, while the individual loaves reflect my own journey and the joy I find in sharing good food with others.
Whether you’re serving these alongside a hearty chowder on a chilly evening or packing them for a beach picnic on a summer day, I hope these mini cornbread loaves bring as much joy to your table as they have to mine. Happy baking from my seaside kitchen to yours!