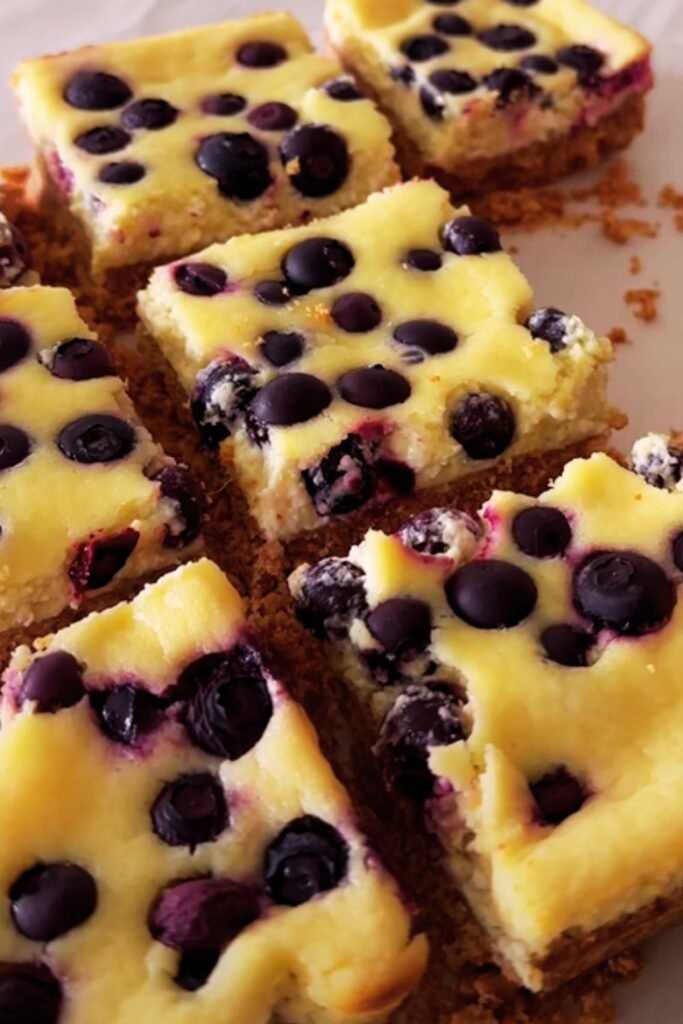
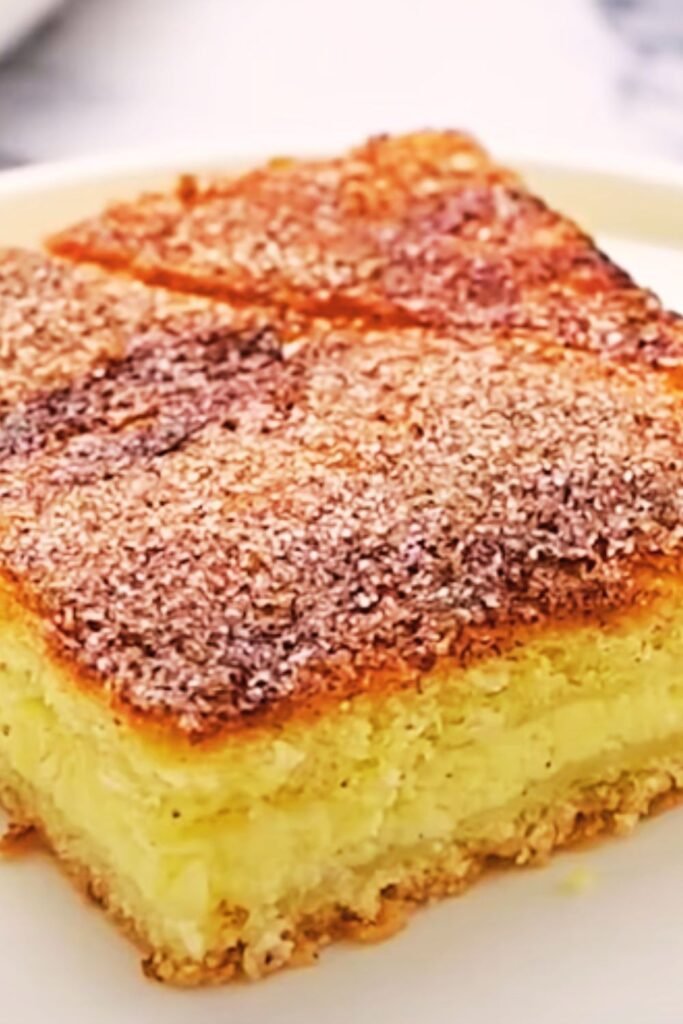
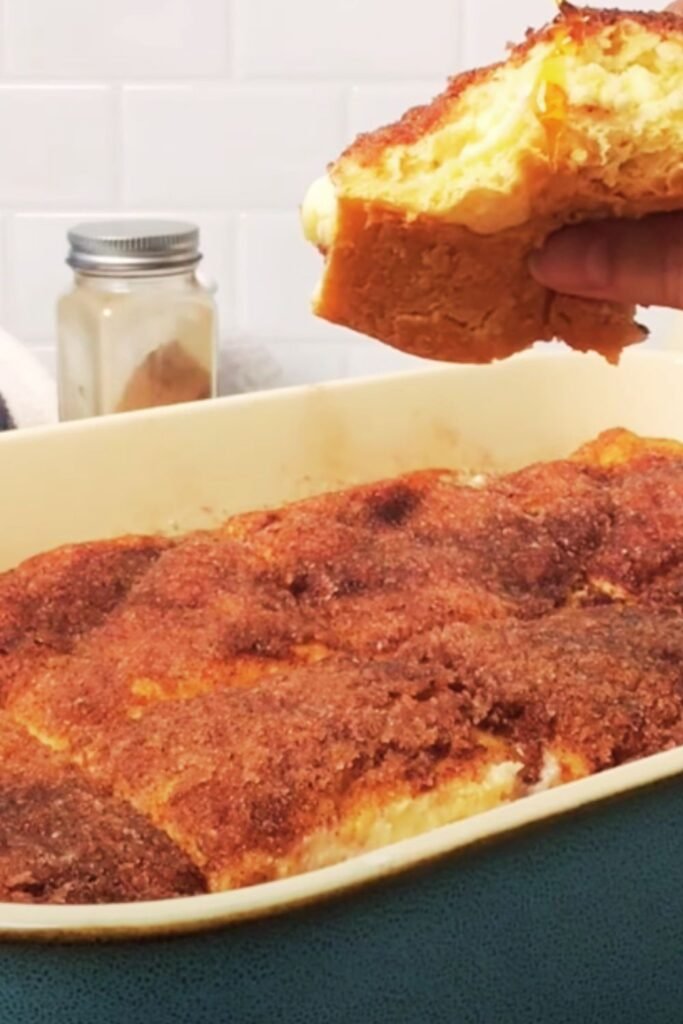
When I first discovered the magic of combining crescent rolls with cheesecake, my kitchen transformed into a dessert paradise. These Blueberry Crescent Roll Cheesecake Bars have become my go-to recipe for impressing guests and satisfying my own sweet tooth. The buttery, flaky crescent roll crust paired with creamy cheesecake filling and bursts of fresh blueberries creates a dessert that’s both elegant and comfortingly familiar.
What makes this recipe truly special is how it takes the intimidating world of cheesecake-making and makes it accessible to everyone. I’ve served these bars at family gatherings, potluck dinners, and quiet Sunday afternoons, and they never fail to disappear within minutes. The best part? You don’t need any special equipment or advanced baking skills to create something that looks and tastes like it came from a high-end bakery.
The Perfect Marriage of Convenience and Indulgence
My love affair with this recipe began during a particularly hectic week when I needed to bring dessert to a friend’s dinner party. I had fresh blueberries in my refrigerator and a tube of crescent rolls that I’d been meaning to use. What started as a desperate attempt to create something impressive with minimal effort turned into one of my most requested recipes.
The genius of these bars lies in their simplicity. The crescent roll dough serves as both the bottom crust and the top layer, creating a golden, buttery envelope that holds the luscious cheesecake filling. Unlike traditional cheesecake that requires water baths and careful temperature monitoring, this version bakes beautifully in a regular oven with minimal fuss.
Understanding the Key Components
Crescent Roll Dough: The foundation of this recipe, providing structure and that irresistible buttery flavor that makes these bars so addictive.
Cream Cheese: The star of the filling, creating that rich, tangy base that defines true cheesecake flavor.
Fresh Blueberries: These little jewels burst with sweetness and provide beautiful color contrast while adding natural tartness.
Granulated Sugar: Balances the tanginess of the cream cheese and enhances the natural sweetness of the blueberries.
Vanilla Extract: Adds depth and warmth to the overall flavor profile.
Eggs: Provide structure and help the filling set properly during baking.
Complete Recipe Breakdown
Ingredients List
| Ingredient | Amount | Purpose | Substitution Options |
|---|---|---|---|
| Crescent roll dough | 2 tubes (8 oz each) | Base and top crust | Puff pastry, phyllo dough |
| Cream cheese | 16 oz (2 packages) | Main filling | Greek yogurt cream cheese |
| Granulated sugar | 3/4 cup | Sweetener | Coconut sugar, stevia blend |
| Large eggs | 2 | Binding agent | Egg substitute, flax eggs |
| Pure vanilla extract | 2 teaspoons | Flavor enhancer | Almond extract, lemon zest |
| Fresh blueberries | 1 1/2 cups | Fruit component | Frozen blueberries, mixed berries |
| Butter | 2 tablespoons | Richness | Coconut oil, margarine |
| Powdered sugar | 1/2 cup | Topping | Coconut sugar, raw sugar |
| Lemon juice | 1 tablespoon | Brightness | Lime juice, orange juice |
Equipment and Tools
| Tool | Purpose | Alternative |
|---|---|---|
| 9×13 inch baking dish | Primary baking vessel | 8×8 for smaller batch |
| Electric mixer | Cream cheese mixing | Hand whisk |
| Measuring cups | Accurate portions | Kitchen scale |
| Rubber spatula | Gentle folding | Wooden spoon |
| Parchment paper | Easy removal | Cooking spray |

Step-by-Step Preparation Process
Phase 1: Preparation and Setup
I always start by preheating my oven to 350°F (175°C). This temperature ensures the crescent rolls achieve that perfect golden color while allowing the cheesecake filling to set without overcooking. I’ve learned that having everything at room temperature makes the entire process smoother, so I take my cream cheese and eggs out about 30 minutes before I plan to start baking.
Preparing the baking dish is crucial for easy removal later. I line my 9×13 inch pan with parchment paper, leaving some overhang for easy lifting. A light coating of cooking spray ensures nothing sticks, even with the parchment paper.
Phase 2: Creating the Foundation
The bottom crust sets the stage for everything that follows. I carefully unroll one tube of crescent roll dough and press it into the bottom of my prepared pan. The key here is to pinch together all the perforations to create a seamless base. I’ve found that using my knuckles works better than fingertips for this task, as it prevents tearing.
Once the dough is evenly distributed, I create small wells throughout the surface using a fork. This prevents the dough from puffing up too much during the initial baking phase. I pre-bake this crust for about 8 minutes until it’s just beginning to turn golden.
Phase 3: The Cheesecake Filling Magic
While the crust pre-bakes, I prepare the star of the show: the cheesecake filling. I beat the softened cream cheese until it’s completely smooth and free of lumps. This usually takes about 3-4 minutes with an electric mixer on medium speed. I’ve learned that patience here pays off significantly in the final texture.
Gradually, I add the sugar, beating until the mixture is light and fluffy. The eggs go in one at a time, followed by the vanilla extract. I mix just until combined, being careful not to overbeat, which can incorporate too much air and cause cracking.

Phase 4: Assembly and Blueberry Distribution
Once my pre-baked crust has cooled slightly, I spread the cheesecake filling evenly over the surface. I use an offset spatula to achieve a smooth, even layer. The blueberries get gently folded into the top portion of the filling, creating beautiful pockets of fruit throughout.
The second tube of crescent roll dough gets unrolled and carefully placed over the filling. I don’t press it down; instead, I let it rest gently on top, pinching the seams together. This top layer will puff and brown beautifully during baking.
Phase 5: The Final Bake
Into the oven the assembled bars go for 25-30 minutes. I watch for the top to turn a gorgeous golden brown and for the edges to pull slightly away from the sides of the pan. The center should be set but still have a slight jiggle when gently shaken.
Perfecting the Texture and Flavor
Temperature Control Secrets
One of the most important lessons I’ve learned is the importance of temperature control throughout the process. Room temperature ingredients blend more easily, creating a smoother filling. I always test my cream cheese by pressing it with my finger; it should give easily without being too soft or too firm.
During baking, I resist the urge to open the oven door frequently. Each time I do, I risk temperature fluctuations that can affect the final texture. I rely on visual cues and the gentle shake test to determine doneness.
Blueberry Selection and Preparation
The quality of blueberries makes a significant difference in the final product. I prefer fresh blueberries when they’re in season, looking for firm, plump berries with a deep blue color and a silvery bloom. Before adding them to the filling, I toss them lightly with a tablespoon of flour to prevent them from sinking to the bottom during baking.
When fresh blueberries aren’t available, frozen ones work beautifully. I don’t thaw them completely; instead, I use them while they’re still slightly frozen to prevent excessive bleeding of color into the filling.

Nutritional Profile and Dietary Considerations
Nutritional Breakdown per Serving
| Nutrient | Amount | % Daily Value |
|---|---|---|
| Calories | 285 | 14% |
| Total Fat | 18g | 28% |
| Saturated Fat | 10g | 50% |
| Cholesterol | 65mg | 22% |
| Sodium | 390mg | 16% |
| Total Carbs | 26g | 9% |
| Dietary Fiber | 1g | 4% |
| Sugars | 16g | – |
| Protein | 6g | 12% |
| Vitamin C | 8mg | 13% |
| Calcium | 85mg | 8% |
Dietary Modifications
For those following specific dietary plans, I’ve experimented with various modifications. A gluten-free version works wonderfully using gluten-free crescent roll dough, though the texture is slightly different. For a lower-sugar option, I’ve successfully used sugar substitutes like erythritol or stevia blends, reducing the amount by about one-third.
The recipe can also be adapted for those avoiding dairy by using dairy-free cream cheese alternatives. I’ve found that the cashew-based varieties work particularly well, though they create a slightly denser texture.
Storage and Serving Recommendations
Optimal Storage Methods
These bars store beautifully in the refrigerator for up to five days when properly covered. I prefer to wrap them individually in plastic wrap for grab-and-go convenience, or store them in an airtight container with parchment paper between layers.
For longer storage, they freeze exceptionally well for up to three months. I wrap them tightly in plastic wrap and then aluminum foil to prevent freezer burn. When ready to serve, I thaw them in the refrigerator overnight.
Serving Suggestions
While these bars are delicious on their own, I love to dress them up for special occasions. A light dusting of powdered sugar adds elegance, while a drizzle of fresh berry sauce creates a restaurant-quality presentation. For casual gatherings, I serve them alongside fresh fruit or a dollop of whipped cream.
The bars are equally delicious served at room temperature or slightly chilled. I’ve found that they’re easier to cut cleanly when they’ve been chilled for at least an hour, but the flavors are more pronounced at room temperature.
Troubleshooting Common Issues
Preventing Soggy Bottoms
One of the most common issues I encounter is a soggy bottom crust. This usually happens when the filling is too wet or the bottom crust isn’t pre-baked long enough. I always ensure my cream cheese is at the right temperature and avoid overmixing, which can incorporate too much air and moisture.
Achieving Even Browning
Uneven browning can occur if the oven temperature isn’t consistent or if the bars are placed too close to the heating element. I always use an oven thermometer to verify my oven’s accuracy and position the pan in the center of the oven.
Preventing Cracking
Cracking typically results from overbaking or sudden temperature changes. I’ve learned to remove the bars from the oven as soon as they’re set, even if they seem slightly underdone. The residual heat will continue cooking them as they cool.
Creative Variations and Flavor Combinations
Seasonal Adaptations
Throughout the year, I adapt this recipe to showcase different seasonal fruits. In summer, I substitute fresh strawberries or raspberries for the blueberries. Fall brings opportunities for apple cinnamon versions, while winter calls for cranberry orange combinations.
Flavor Enhancement Ideas
For chocolate lovers, I sometimes add mini chocolate chips to the filling or drizzle melted chocolate over the cooled bars. A lemon version, made by adding lemon zest and juice to the filling, creates a bright, citrusy twist that’s perfect for spring gatherings.
Professional Tips for Success
Timing Strategies
I’ve learned that timing is everything with this recipe. Starting the cream cheese softening process early in the day ensures it’s at the perfect temperature when I’m ready to bake. Having all ingredients measured and ready before I start prevents any rushing that could affect the final result.
Presentation Techniques
For the most attractive presentation, I use a sharp knife dipped in warm water to cut clean lines through the bars. Wiping the knife between cuts prevents dragging the filling and creates professional-looking portions.
Questions and Answers
Q: Can I make these bars ahead of time for a party? A: Absolutely! I often make these bars the day before serving. They actually improve in flavor as they sit, allowing all the components to meld together beautifully. Just keep them covered in the refrigerator until ready to serve.
Q: What’s the best way to tell when the bars are done baking? A: I look for a golden brown top and edges that have pulled slightly away from the sides of the pan. The center should be set but still have a very slight jiggle when gently shaken. The top crust should sound hollow when lightly tapped.
Q: Can I use frozen blueberries instead of fresh? A: Yes, frozen blueberries work wonderfully in this recipe. I use them straight from the freezer without thawing to prevent excessive color bleeding. The texture will be slightly different, but the flavor is just as delicious.
Q: How do I prevent the crescent roll dough from getting soggy? A: Pre-baking the bottom crust for 8 minutes creates a barrier that prevents sogginess. I also make sure my cream cheese filling isn’t too wet and avoid overmixing, which can create excess moisture.
Q: Can I double this recipe for a larger crowd? A: Certainly! I often double the recipe and use two 9×13 inch pans. The baking time remains the same, but I rotate the pans halfway through to ensure even browning. Just make sure your oven can accommodate both pans with proper air circulation.
Q: What’s the secret to getting the cream cheese filling completely smooth? A: The key is starting with room temperature cream cheese and beating it thoroughly before adding any other ingredients. I beat it for a full 3-4 minutes until it’s completely lump-free, then gradually add the sugar while continuing to beat.
Q: Can I substitute the crescent roll dough with something else? A: Puff pastry works as an excellent substitute, though it creates a flakier texture. I’ve also used phyllo dough for a lighter version, though it requires a bit more careful handling. Even a shortbread crust can work if you prefer a more traditional cheesecake base.
Q: How long should I let the bars cool before cutting? A: I let them cool at room temperature for about an hour, then chill them in the refrigerator for at least another hour before cutting. This allows the filling to set properly and makes for much cleaner cuts.
These Blueberry Crescent Roll Cheesecake Bars have become more than just a recipe in my kitchen; they’re a celebration of how simple ingredients can create something truly extraordinary. Every time I make them, I’m reminded of why I fell in love with baking in the first place – the joy of creating something delicious that brings people together.
The beauty of this recipe lies not just in its simplicity, but in its versatility and the consistent results it delivers. Whether you’re a seasoned baker or someone who’s just starting their culinary journey, these bars offer the perfect opportunity to create something impressive without the stress that often comes with more complicated desserts.
I hope this recipe brings as much joy to your kitchen as it has to mine. The combination of buttery crescent rolls, creamy cheesecake filling, and bursts of fresh blueberries creates a dessert that’s both comforting and elegant – perfect for any occasion where you want to show you care through the gift of homemade goodness.