There’s nothing quite like the aroma of freshly baked pastries wafting through the kitchen on a lazy weekend morning. Today, I’m excited to share one of my absolute favorite recipes that combines the buttery layers of a croissant with the shape and texture of a muffin: the magnificent Cinnamon Sugar Cruffin. This delightful hybrid pastry has taken the culinary world by storm, and for good reason!
I still remember my first encounter with cruffins at a boutique bakery in San Francisco. One bite of that crispy, sugar-dusted exterior giving way to soft, buttery layers with cinnamon swirls had me instantly hooked. After numerous attempts to recreate that magical pastry at home, I’ve finally perfected my own version that I’m thrilled to share with you today.
What Exactly Is a Cruffin?
A cruffin is, as the name suggests, a delicious crossbreed between a croissant and a muffin:
Croissant : The laminated, buttery dough that creates those beautiful flaky layers we all love
Muffin : The shape and baking method, using a muffin tin to create the distinctive form
The result is a stunning pastry that combines the best of both worlds – the buttery, flaky layers of a croissant with the convenient shape and portability of a muffin. While professional bakeries often use specialized equipment to achieve perfect lamination, my recipe is designed for home bakers with standard kitchen tools.
Why You’ll Love This Recipe
- Impressive results without professional equipment
- Versatile recipe that can be customized with different fillings
- Step-by-step instructions that make laminated dough approachable
- Make-ahead options to fit your schedule
- Show-stopping pastry that will impress family and friends
Let me assure you that while cruffins might look intimidating, this recipe breaks down the process into manageable steps that even novice bakers can master with a bit of patience.
Essential Equipment
Before diving into the recipe, let’s make sure you have all the necessary equipment:
- Stand mixer with dough hook (or strong arms for kneading!)
- Rolling pin
- Ruler or measuring tape
- Sharp knife or pizza cutter
- 12-cup muffin tin
- Pastry brush
- Large mixing bowls
- Plastic wrap
- Kitchen towels
Ingredients
For the Dough:
| Ingredient | Volume | Weight (grams) | Purpose |
|---|---|---|---|
| All-purpose flour | 4 cups | 500g | Forms the structure of the dough |
| Granulated sugar | 1/4 cup | 50g | Adds sweetness and helps with browning |
| Salt | 2 tsp | 10g | Enhances flavor |
| Active dry yeast | 2 1/4 tsp | 7g | Leavening agent |
| Warm milk | 1 cup | 240ml | Activates yeast and hydrates dough |
| Eggs | 2 large | 100g | Adds richness and helps with structure |
| Unsalted butter (softened) | 2 tbsp | 30g | Adds richness to the dough |
| Cold unsalted butter (for lamination) | 1 1/2 cups | 340g | Creates distinct layers |
For the Cinnamon Sugar Filling:
| Ingredient | Volume | Weight (grams) | Notes |
|---|---|---|---|
| Light brown sugar | 3/4 cup | 150g | Provides warm sweetness |
| Ground cinnamon | 2 tbsp | 16g | Main flavor component |
| Unsalted butter (melted) | 1/4 cup | 60g | Helps sugar adhere to dough |
| Vanilla extract | 1 tsp | 5ml | Enhances flavor |
For the Coating:
| Ingredient | Volume | Weight (grams) | Notes |
|---|---|---|---|
| Granulated sugar | 1 cup | 200g | Creates crunchy exterior |
| Ground cinnamon | 1 tbsp | 8g | Adds flavor to coating |
| Unsalted butter (melted) | 1/4 cup | 60g | Helps sugar adhere to baked cruffins |
Step-by-Step Instructions
Day 1: Prepare the Dough and Butter Block
- Activate the yeast: In the bowl of your stand mixer, combine warm milk (about 110°F/43°C) with 1 tablespoon of the sugar. Sprinkle the yeast over the top and let sit for 5-10 minutes until foamy.
- Make the dough base: Add the remaining sugar, eggs, and softened butter to the yeast mixture. Mix on low speed to combine.
- Add dry ingredients: Gradually add the flour and salt, mixing until a rough dough forms.
- Knead the dough: Switch to the dough hook and knead on medium-low speed for about 5-7 minutes until the dough is smooth and elastic. It should pull away from the sides of the bowl but remain slightly tacky.
- First rise: Transfer the dough to a lightly oiled bowl, cover with plastic wrap, and let rise in a warm spot for about 1-1.5 hours, or until doubled in size.
- Prepare the butter block: While the dough is rising, prepare your butter block. Place the cold butter between two pieces of parchment paper and beat it with a rolling pin to soften slightly. Shape it into an 8×8 inch (20×20 cm) square. Return to the refrigerator to firm up.
- Chill the dough: After the first rise, punch down the dough, shape it into a rough square, wrap in plastic, and refrigerate for at least 1 hour or overnight.
Day 2: Lamination Process
- First lamination: On a lightly floured surface, roll the chilled dough into a 12×12 inch (30×30 cm) square. Place the butter block in the center at a 45-degree angle (like a diamond on a square).
- Fold the dough: Fold the corners of the dough over the butter, making sure they overlap slightly. Pinch the seams to seal the butter completely.
- First roll and fold: Roll the dough into a rectangle approximately 10×20 inches (25×50 cm). Fold the dough in thirds like a letter (bring the bottom third up, then fold the top third down).
- Rest the dough: Wrap the dough in plastic wrap and refrigerate for 30 minutes.
- Second roll and fold: Remove the dough from the refrigerator, rotate it 90 degrees from its previous position, and repeat the rolling and folding process.
- Rest again: Wrap and refrigerate for another 30 minutes.
- Third roll and fold: Repeat the rolling, folding, and resting process one more time.
- Final rest: After the third fold, wrap the dough and refrigerate for at least 1 hour or overnight for best results.
Day 2 or 3: Shaping and Baking
- Prepare the filling: Mix the brown sugar and cinnamon in a bowl. In a separate bowl, combine the melted butter and vanilla extract.
- Roll out the dough: On a lightly floured surface, roll the laminated dough into a large rectangle, approximately 12×24 inches (30×60 cm) and about 1/8 inch (3mm) thick.
- Add the filling: Brush the entire surface of the dough with the melted butter-vanilla mixture, then evenly sprinkle the cinnamon-sugar mixture over the dough, leaving a 1/2 inch (1 cm) border along one long edge.
- Roll and cut: Starting from the long edge (opposite the border), tightly roll the dough into a log. Cut the log into 12 equal pieces, each about 2 inches (5 cm) thick.
- Shape the cruffins: For each piece, use your fingers to push the center down slightly, then place in a buttered muffin tin.
- Final rise: Cover the muffin tin loosely with a clean kitchen towel and let rise in a warm place for about 30-45 minutes, or until visibly puffy.
- Preheat the oven: While the cruffins are rising, preheat your oven to 375°F (190°C).
- Bake: Bake the cruffins for 20-25 minutes, or until golden brown and cooked through.
- Prepare the coating: While the cruffins are baking, mix the sugar and cinnamon in a shallow bowl.
- Finish the cruffins: When the cruffins come out of the oven, let them cool in the tin for 5 minutes. Then, gently remove each cruffin, brush with melted butter, and roll in the cinnamon-sugar mixture.
Troubleshooting Common Issues
| Problem | Possible Cause | Solution |
|---|---|---|
| Butter leaking during baking | Dough too warm | Ensure dough remains cold throughout the process |
| Dough tears during rolling | Not enough rest time | Give dough adequate chilling time between folds |
| Dense texture instead of flaky | Overhandling the dough | Work quickly and handle minimally |
| Uneven rising | Inconsistent shaping | Try to maintain even thickness when rolling |
| Filling leaking out | Too much filling | Use a moderate amount and distribute evenly |
Variations to Try
Once you’ve mastered the basic cinnamon sugar cruffin, the possibilities for variations are endless! Here are some of my favorites:
Chocolate Hazelnut
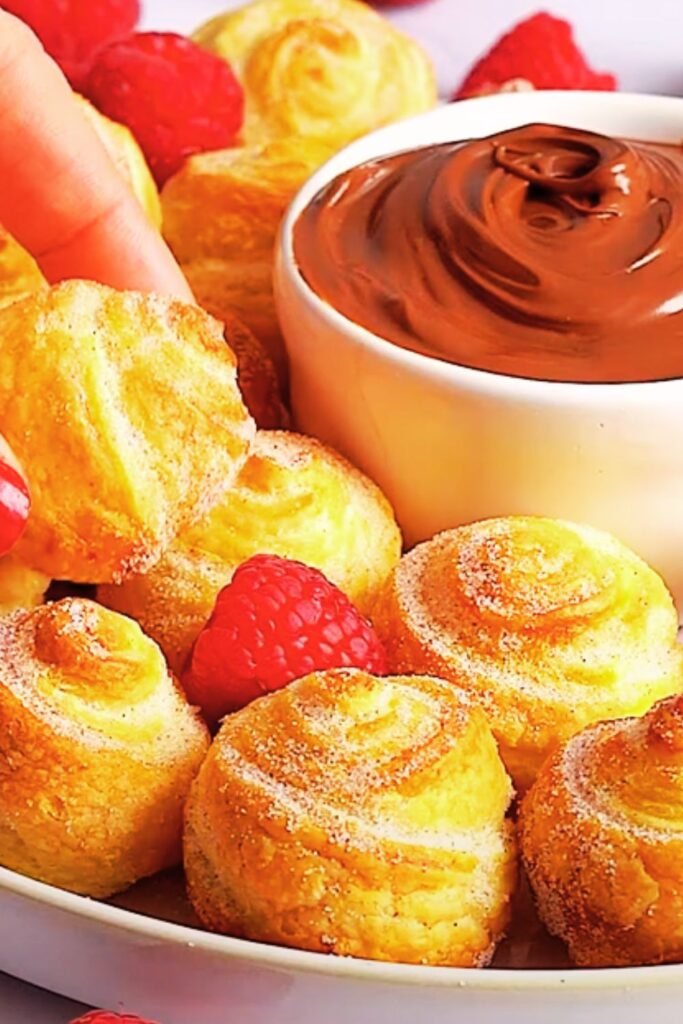
Replace the cinnamon filling with 1/2 cup chocolate hazelnut spread (like Nutella). After baking, dust with powdered sugar instead of cinnamon sugar.
Lemon Cream
Add 1 tablespoon lemon zest to the dough. Fill with 1/2 cup lemon curd instead of cinnamon sugar. After baking, coat with lemon-infused sugar (mix 1 cup sugar with 1 tablespoon lemon zest).
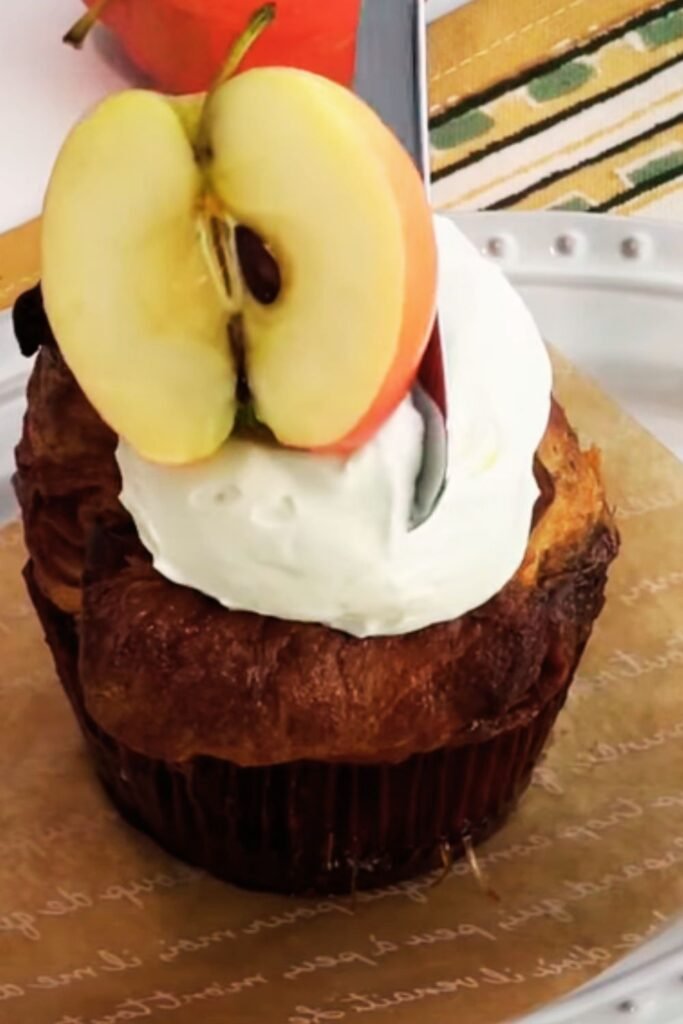
Apple Pie
Mix 1 cup finely diced apples with the cinnamon sugar filling and add 1/4 teaspoon nutmeg. After baking, drizzle with simple glaze (1 cup powdered sugar mixed with 2 tablespoons milk and 1/2 teaspoon vanilla).
Cardamom Rose
Replace the cinnamon in the filling with 1 tablespoon ground cardamom and add 1 teaspoon rose water to the butter. Coat finished cruffins with rose-scented sugar (mix 1 cup sugar with 1 teaspoon rose water and dry for 1 hour before using).
Make-Ahead and Storage Tips
Cruffins are best enjoyed fresh from the oven, but here are some options for make-ahead preparation and storage:
- Laminated dough: Can be refrigerated for up to 3 days or frozen for up to 1 month. Thaw overnight in the refrigerator before proceeding with the recipe.
- Unbaked shaped cruffins: Can be refrigerated overnight. Let come to room temperature for 30-45 minutes before baking.
- Baked cruffins: Best consumed same day but can be stored at room temperature in an airtight container for up to 2 days.
- Reheating: To refresh day-old cruffins, warm in a 300°F (150°C) oven for 5-7 minutes.
Serving Suggestions
Transform your cruffin experience with these serving ideas:
- Serve with fresh berries and a dollop of whipped cream for a decadent breakfast
- Pair with a rich hot chocolate for an indulgent afternoon treat
- Create a beautiful brunch board with cruffins, fresh fruit, and assorted cheeses
- Serve slightly warm with a scoop of vanilla ice cream for an elevated dessert
- Accompany with fresh-squeezed orange juice for a refreshing contrast to the sweet pastry
Nutritional Information
For those who like to keep track of what they’re eating, here’s the approximate nutritional information per cruffin:
| Nutrient | Amount | % Daily Value* |
|---|---|---|
| Calories | 385 | – |
| Total Fat | 22g | 28% |
| Saturated Fat | 14g | 70% |
| Cholesterol | 75mg | 25% |
| Sodium | 220mg | 10% |
| Total Carbohydrate | 42g | 15% |
| Dietary Fiber | 1g | 4% |
| Sugars | 24g | – |
| Protein | 5g | 10% |
*Percent Daily Values are based on a 2,000 calorie diet.
Why My Recipe Works
After numerous tests and adjustments, I’ve discovered several key techniques that make this recipe foolproof:
- Cold butter is crucial: Maintaining cold butter throughout the lamination process ensures distinct layers.
- Rest periods matter: The refrigeration time between folds allows the gluten to relax, making the dough easier to roll and resulting in a more tender final product.
- Proper rolling technique: Keeping the dough at an even thickness throughout rolling helps create uniform layers.
- Controlled environment: Working in a cool kitchen helps maintain dough temperature.
- Precise measurements: Using weight measurements for ingredients ensures consistency every time.
Quick Tips for Success
- If your kitchen is warm, work with half the dough at a time, keeping the other half refrigerated.
- Don’t rush the process – the time invested results in superior texture and flavor.
- Use a ruler to measure your dough when rolling to ensure consistent thickness.
- If the butter becomes too soft during rolling, pause and refrigerate the dough for 15 minutes.
- A light dusting of flour prevents sticking, but too much can dry out the dough.
Questions & Answers
Can I make these cruffins without a stand mixer? Yes! While a stand mixer makes the process easier, you can mix the dough by hand. Simply combine the ingredients in a large bowl and knead on a floured surface for about 10-12 minutes until smooth and elastic.
Is it possible to make these gluten-free? I’ve had moderate success using cup-for-cup gluten-free flour blends, but the texture won’t be quite as flaky. You’ll need to add 1 teaspoon of xanthan gum if your blend doesn’t already include it, and expect a slightly denser result.
Can I use salted butter instead of unsalted? While I prefer unsalted butter to control the salt content, you can use salted butter. If you do, reduce the added salt in the dough by half.
How do I know when my cruffins are done baking? The cruffins should be deeply golden brown on top and feel firm when gently pressed. If you have an instant-read thermometer, the internal temperature should read about 190°F (88°C).
Why do I need to laminate the dough three times? Each lamination creates more butter layers, resulting in that distinctive flaky texture. Fewer folds will result in a less defined layered structure.
Can I fill these with cream or custard after baking? Absolutely! Let the cruffins cool completely, then use a piping bag with a long tip to inject fillings like pastry cream, lemon curd, or chocolate ganache into the center.
What’s the best way to get them out of the muffin tin without breaking? Let them cool in the tin for about 5 minutes, then run a butter knife gently around the edges before carefully lifting them out. The slight cooling time helps them set up just enough to hold their shape.
Can I prepare everything the night before and bake in the morning? Yes! Shape the cruffins and place them in the muffin tin, then cover with plastic wrap and refrigerate overnight. In the morning, let them sit at room temperature for about 45-60 minutes before baking.
I hope this comprehensive guide gives you the confidence to tackle homemade cruffins! While they require some time and patience, the results are absolutely worth the effort. There’s something magical about pulling a batch of these beautifully layered, cinnamon-scented pastries from the oven – a true labor of love that never fails to impress. Happy baking!