When I first discovered this rustic bread recipe, I couldn’t believe how simple it was. After years of intimidating myself with complex bread-making techniques, I finally found a method that delivers bakery-quality results with minimal effort. This no-knead rustic bread has become my go-to recipe, and I’m excited to share every detail with you.
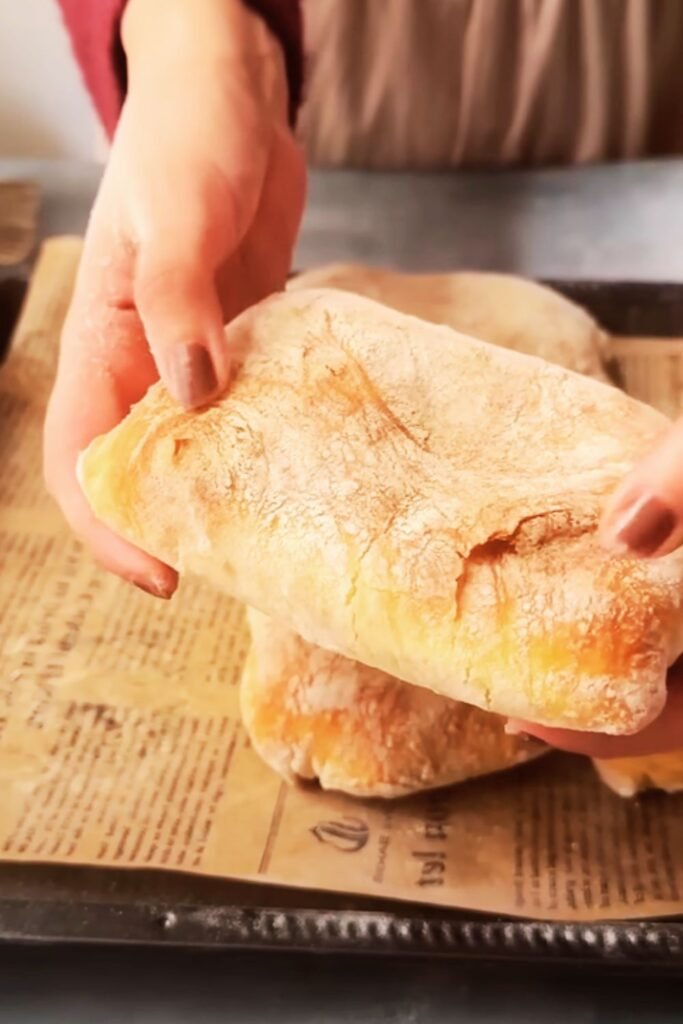
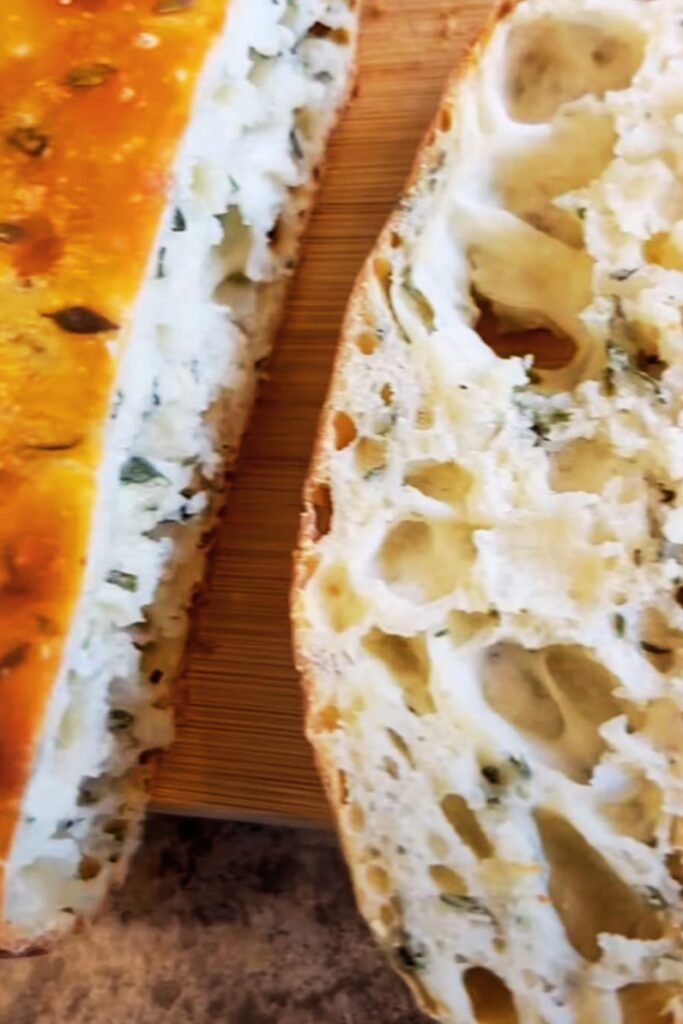
The beauty of rustic bread lies in its forgiving nature and stunning appearance. Unlike perfectly shaped sandwich loaves, rustic bread embraces imperfection, creating those gorgeous irregular shapes and crispy crusts that make your kitchen smell like a European bakery.
What Makes This Recipe So Easy?
I’ve tried countless bread recipes over the years, and this one stands out because it eliminates the most challenging aspects of traditional bread making. There’s no kneading required, no special equipment needed, and the timing is incredibly flexible. The secret lies in a long, slow fermentation process that develops flavor and texture while you sleep.
The technique uses time as your primary tool instead of intensive labor. By allowing the dough to ferment slowly, the gluten develops naturally, creating that perfect chewy texture we all love in artisan bread.
Essential Ingredients Breakdown
Flour Selection
- All-Purpose Flour: My preferred choice for beginners, providing reliable results every time
- Bread Flour: Contains higher protein content, creating chewier texture
- Whole Wheat Flour: Can substitute up to 25% for added nutrition and nutty flavor
Water Quality I always use filtered water when possible, as chlorine in tap water can inhibit yeast activity. The water temperature should be lukewarm – around 70-75°F works perfectly.
Salt Importance Don’t skip the salt! It controls yeast activity, strengthens gluten structure, and enhances flavor. I prefer kosher salt or sea salt over table salt for better distribution.
Yeast Types
- Active Dry Yeast: Most common, needs proofing in warm water
- Instant Yeast: My favorite for this recipe, mixes directly with flour
- Fresh Yeast: Creates exceptional flavor but has shorter shelf life
The Complete Recipe
Ingredients
| Ingredient | Amount | Purpose | Notes |
|---|---|---|---|
| All-purpose flour | 3 cups (360g) | Structure base | Can substitute up to 25% with whole wheat |
| Warm water | 1⅝ cups (390ml) | Hydration | 70-75°F temperature ideal |
| Instant yeast | ¼ teaspoon | Leavening agent | Don’t use more – less is better |
| Salt | 1¼ teaspoons | Flavor enhancer | Controls yeast activity |
Step-by-Step Instructions
Step 1: Mix the Dough In a large bowl, whisk together flour, yeast, and salt. I always mix the dry ingredients first to ensure even distribution. Add the warm water and stir with a wooden spoon until you have a shaggy, sticky dough. Don’t worry if it looks rough – that’s exactly what we want.
Step 2: First Rise Cover the bowl tightly with plastic wrap or a damp towel. Let it sit at room temperature for 12-18 hours. I usually start this process after dinner, so it’s ready by the next evening. The dough will double in size and develop a slightly sour, yeasty aroma.
Step 3: Shape and Second Rise Turn the dough onto a well-floured surface. With floured hands, fold it over itself a few times – this isn’t kneading, just gentle shaping. Form it into a rough ball and place it seam-side down on parchment paper. Cover with a towel and let rise for 2 hours.
Step 4: Preheat and Bake Thirty minutes before baking, place a Dutch oven with its lid in your oven and preheat to 450°F (230°C). When ready, carefully remove the hot pot, lift the bread using the parchment paper, and lower it into the pot. Cover and bake for 30 minutes, then remove the lid and bake for 15-30 minutes more until golden brown.
Timing and Temperature Guide
| Phase | Duration | Temperature | Visual Cues |
|---|---|---|---|
| Initial mix | 5 minutes | Room temp | Shaggy, sticky dough |
| First rise | 12-18 hours | 68-72°F | Doubled size, bubbly surface |
| Shaping | 5 minutes | Room temp | Smooth surface forms |
| Second rise | 2 hours | Room temp | Puffy, jiggles when moved |
| Baking (covered) | 30 minutes | 450°F | Steam creates crust |
| Baking (uncovered) | 15-30 minutes | 450°F | Golden brown color |

Troubleshooting Common Issues
Dense, Heavy Bread This usually happens when the flour-to-water ratio is off or the yeast is inactive. I always check my yeast expiration date and store it in the refrigerator. If your kitchen is cold, the rising process will take longer – be patient.
Overly Sticky Dough Don’t add more flour during mixing! Instead, use well-floured hands and surfaces when shaping. The high hydration creates that perfect open crumb structure we’re after.
Flat Loaf This typically indicates over-proofed dough or weak gluten development. Try reducing the rising time slightly or using bread flour for stronger gluten networks.
Pale Crust Ensure your oven is fully preheated and the Dutch oven is scorching hot. The initial steam from the covered pot creates the perfect crust, while the uncovered phase develops color.
Flavor Variations I Love
Herb and Garlic Rustic Bread Add 2 tablespoons of dried herbs (rosemary, thyme, or oregano) and 3 minced garlic cloves to the flour mixture. This creates an aromatic loaf perfect for dinner parties.
Seeded Crust Variation Before the second rise, brush the shaped dough with water and sprinkle with sesame seeds, poppy seeds, or everything bagel seasoning.
Whole Grain Enhancement Replace up to one cup of all-purpose flour with whole wheat flour, adding an extra 2-3 tablespoons of water to compensate for absorption.
Storage and Serving Suggestions
I store my rustic bread in a paper bag at room temperature for up to three days. For longer storage, slice and freeze in airtight containers for up to three months. The crust may soften slightly, but a quick toast brings back that perfect texture.
Serving Ideas:
- Thick slices with butter and jam for breakfast
- Toasted with avocado and sea salt
- Alongside soups and stews for dipping
- As a base for bruschetta or crostini
- With olive oil and balsamic vinegar for appetizers
Nutritional Information
| Nutrient | Per Slice (1/12 loaf) | Daily Value % |
|---|---|---|
| Calories | 145 | 7% |
| Carbohydrates | 30g | 10% |
| Protein | 4g | 8% |
| Fat | 0.5g | 1% |
| Fiber | 1g | 4% |
| Sodium | 245mg | 11% |
| Iron | 1.8mg | 10% |
Equipment You’ll Need
Essential Items:
- Large mixing bowl
- Wooden spoon
- Dutch oven with tight-fitting lid
- Parchment paper
- Kitchen towels
Nice-to-Have Items:
- Kitchen scale for precise measurements
- Bench scraper for easy handling
- Lame or sharp knife for scoring
The beauty of this recipe is that you probably already have everything needed in your kitchen. No expensive bread machines or special proofing baskets required.
Why This Method Works So Well
The extended fermentation time allows enzymes in the flour to break down starches into sugars, creating complex flavors that develop naturally. Meanwhile, the gluten proteins align themselves without kneading, forming the structure that gives us those beautiful irregular holes in the crumb.
The high hydration (water content) creates steam during baking, which keeps the crust soft initially, allowing maximum oven spring. Then, as moisture evaporates, we get that crispy, crackling crust that makes rustic bread so irresistible.
Environmental Factors to Consider
Kitchen Temperature Cold kitchens slow down yeast activity, while warm kitchens speed it up. I’ve learned to adjust timing based on seasons – winter batches often need an extra 2-4 hours for the first rise.
Humidity Levels High humidity can make dough stickier, while dry conditions may require slightly more water. I keep notes about weather conditions when I bake to track patterns.
Altitude Adjustments At high altitudes, reduce yeast by 25% and increase water slightly. The lower air pressure affects rising, so watch for visual cues rather than strict timing.
Advanced Tips for Perfect Results
The Poke Test Before baking, gently poke the dough with a floured finger. If it springs back slowly, leaving a slight indent, it’s perfectly proofed. If it springs back quickly, give it more time. If it doesn’t spring back at all, you may have over-proofed.
Steam Creation The covered Dutch oven creates its own steam chamber, but I sometimes add an ice cube for extra steam. This helps create that glossy, crackling crust we associate with professional bakeries.
Scoring Techniques While not necessary for rustic bread, a few slashes with a sharp knife or razor blade can control where the bread expands and create attractive patterns.
Questions and Answers
Q: Can I use this dough to make multiple smaller loaves? A: Absolutely! I often divide the dough into two portions for smaller loaves. Just reduce the baking time to about 25 minutes covered and 10-15 minutes uncovered.
Q: What if I don’t have a Dutch oven? A: You can use any heavy, oven-safe pot with a tight lid. Cast iron, ceramic, or even a large oven-safe bowl covered with foil works. The key is creating a steam environment.
Q: Can I add mix-ins like nuts or dried fruit? A: Yes! I add up to ½ cup of chopped nuts, dried cranberries, or olives during the initial mixing stage. Just fold them in gently to avoid overworking the dough.
Q: How do I know when the bread is fully baked? A: The crust should be deep golden brown and sound hollow when tapped on the bottom. An instant-read thermometer should register 200-205°F (93-96°C) in the center.
Q: Can I make this recipe gluten-free? A: This particular recipe relies on gluten development for structure. For gluten-free options, you’d need a completely different approach with gluten-free flour blends and binding agents.
Q: Why is my bread not rising properly? A: Check your yeast expiration date first. Also, ensure your kitchen isn’t too cold (below 65°F) or too hot (above 80°F). Both extremes can inhibit proper yeast activity.
Q: Can I speed up the first rise? A: While possible by increasing yeast or temperature, the long, slow rise develops the complex flavors that make this bread special. I recommend planning ahead rather than rushing the process.
Q: What’s the best way to slice rustic bread? A: Wait until the bread cools completely – about 2 hours. Use a sharp serrated knife and cut with a sawing motion. Hot bread may appear gummy when sliced too early.
This rustic bread recipe has transformed my relationship with homemade bread. The simplicity, combined with professional-quality results, makes it perfect for both beginners and experienced bakers looking for a reliable, delicious loaf. The satisfaction of pulling a crackling, golden loaf from your oven never gets old, and I hope this detailed guide helps you experience that same joy in your own kitchen.