There’s something magical about sweet chili sauce that transforms even the simplest dishes into something extraordinary. I’ve been making this versatile condiment for years, and I’m excited to share my foolproof recipe with you today. This homemade version puts store-bought varieties to shame with its perfect balance of sweetness, tanginess, and heat that you can customize to your preference.
Whether you’re dipping spring rolls, glazing grilled chicken, or adding a kick to your stir-fry, this sauce will become a staple in your kitchen. The best part? It takes just 15 minutes to make and uses simple ingredients you likely already have on hand.
Why Make Your Own Sweet Chili Sauce?
I started making my own sweet chili sauce years ago when I ran out during a dinner party. What began as a necessity quickly became a preference! Here’s why I’ll never go back to store-bought:
- Pure, natural ingredients — No preservatives, artificial colors, or mysterious additives
- Customizable heat level — Make it as mild or fiery as you prefer
- Adjustable thickness — Create the perfect consistency for dipping or glazing
- Cost-effective — Pennies on the dollar compared to premium store versions
- Fresher flavor — Vibrant and bright in a way bottled sauces can’t match
Ingredients You’ll Need
For my basic sweet chili sauce recipe, gather these simple ingredients:
| Ingredient | Amount | Notes |
|---|---|---|
| Red chili peppers | 8-10 (about 1/2 cup chopped) | Thai bird’s eye chilies for authentic heat, or substitute with red jalapeños for milder sauce |
| Garlic cloves | 4-5 (about 2 tablespoons minced) | Fresh is best for maximum flavor |
| Rice vinegar | 1/2 cup | White vinegar works in a pinch but lacks the subtle sweetness |
| Granulated sugar | 3/4 cup | Can substitute with honey or maple syrup (use 2/3 cup) |
| Water | 1/2 cup | Filtered for best results |
| Salt | 1 teaspoon | Fine sea salt preferred |
| Cornstarch | 1 tablespoon | For thickening |
| Cold water | 2 tablespoons | To mix with cornstarch |
Equipment Needed
- Sharp knife and cutting board
- Medium saucepan
- Measuring cups and spoons
- Wooden spoon or heat-resistant spatula
- Small bowl (for cornstarch slurry)
- Glass jars for storage
Step-by-Step Instructions
Preparation
- Prepare the chilies: I recommend wearing gloves for this step. Remove stems from chilies and roughly chop them. For a smoother sauce, remove seeds. For extra heat, leave some or all seeds in.
- Prepare the garlic: Peel and finely mince the garlic cloves.
Making the Sauce
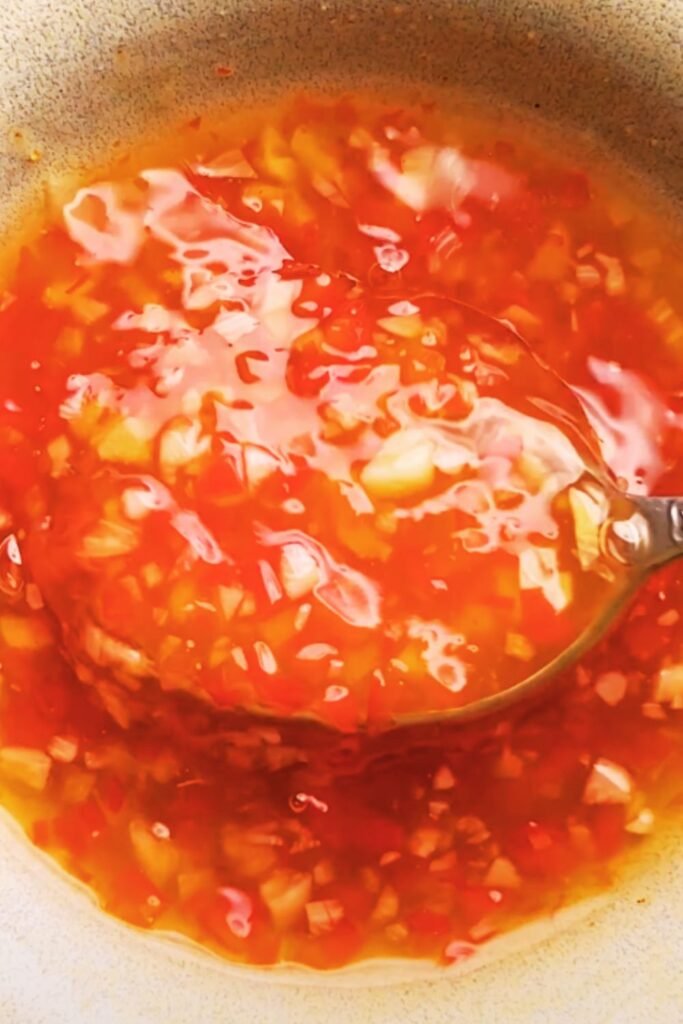
- Combine base ingredients: In a medium saucepan, combine chopped chilies, minced garlic, rice vinegar, sugar, water, and salt.
- Bring to a boil: Place the pan over medium-high heat and bring to a boil, stirring occasionally to help dissolve the sugar.
- Simmer: Once boiling, reduce heat to medium-low and simmer for 5 minutes to allow flavors to meld and chilies to soften.
- Create a slurry: In a small bowl, mix the cornstarch with 2 tablespoons of cold water until completely dissolved with no lumps.
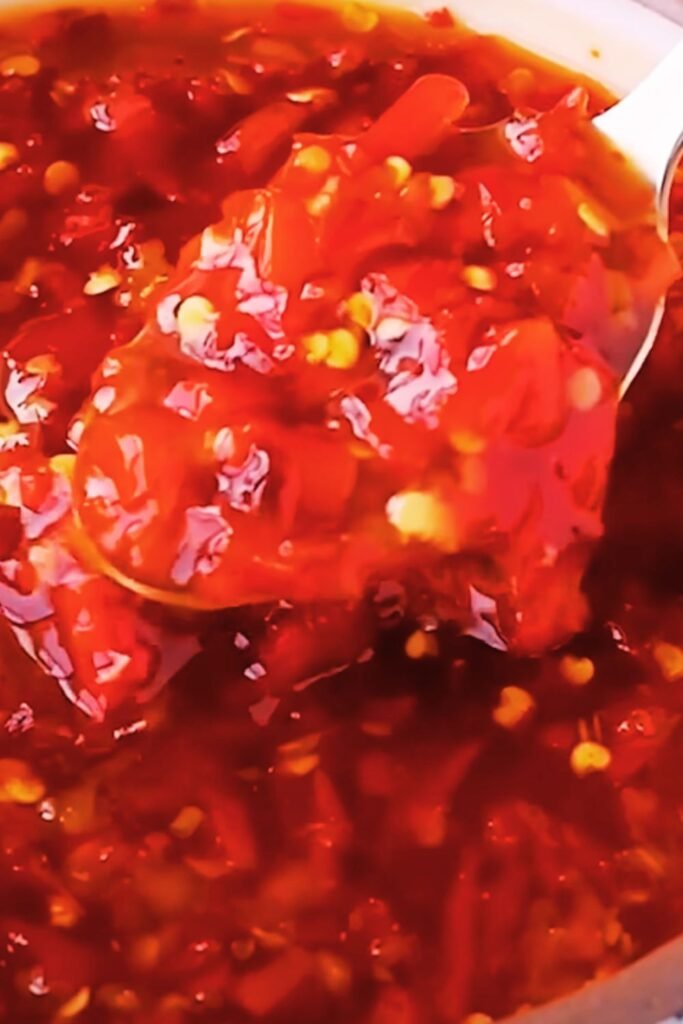
- Thicken the sauce: While stirring the simmering sauce constantly, slowly pour in the cornstarch slurry. Continue stirring for 1-2 minutes as the sauce thickens.
- Test consistency: The sauce should coat the back of a spoon but still pour easily. If it’s too thick, add a tablespoon of water; if too thin, simmer a bit longer.
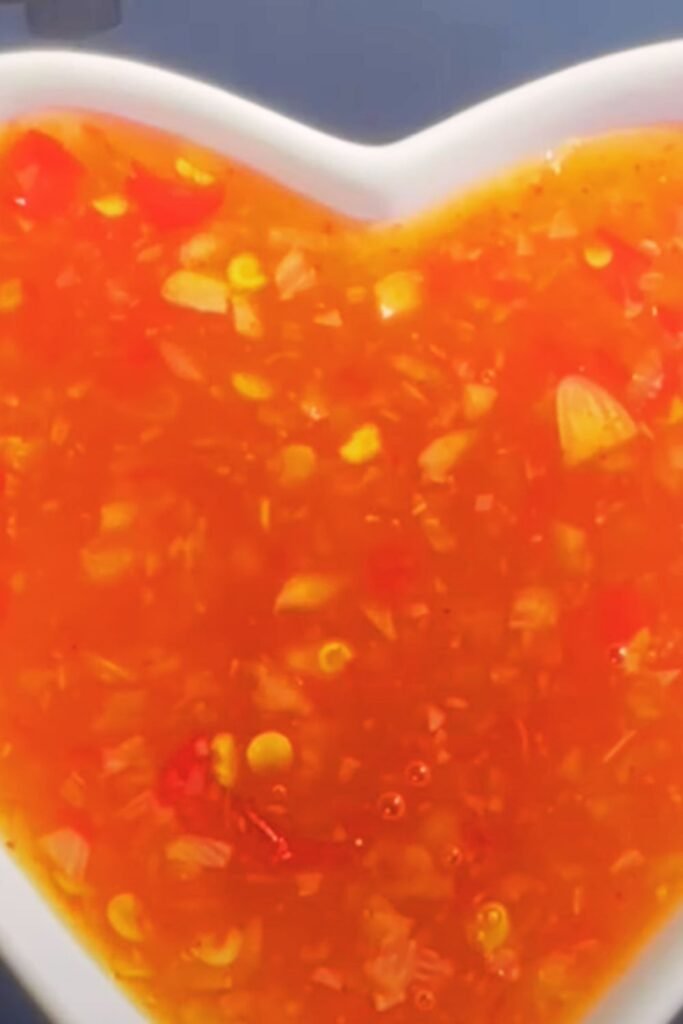
- Cool: Remove from heat and allow to cool. The sauce will continue to thicken slightly as it cools.
Texture Variations
I’ve experimented with many textures over the years, and each has its place:
Chunky Rustic Style
- Perfect for dipping and adding visible chili pieces to dishes
- Simply follow the recipe as written above
Smooth Restaurant Style
- Ideal for glazing and even coating
- After cooking, allow to cool slightly and blend with an immersion blender
- Alternatively, pulse in a standard blender until smooth
Extra-Thick Dipping Consistency
- Best for appetizers that need a sauce that stays put
- Increase cornstarch to 1.5 tablespoons
- Cook 1-2 minutes longer after adding slurry
I personally prefer a partially blended texture with some chili flecks visible for both visual appeal and textural interest.
Heat Level Customization
One of the beauties of making your own sweet chili sauce is controlling the spice level. Here’s my guide for different heat preferences:
| Heat Level | Chili Type & Amount | Seeds | Additional Notes |
|---|---|---|---|
| Mild | 2-3 red jalapeños | None | Add 1/4 tsp red pepper flakes for color |
| Medium | 5-6 red jalapeños or 4-5 Thai chilies | Half removed | Balanced heat that most people enjoy |
| Hot | 8-10 Thai bird’s eye chilies | All included | Authentic Thai-level spiciness |
| Extra Hot | 12-15 Thai chilies or 2-3 habaneros | All included | For serious heat lovers only! |
Remember that the heat develops over time in the refrigerator, so a sauce that seems perfect today might be spicier tomorrow.
Storage and Shelf Life
For best quality and food safety:
- Refrigeration: Transfer cooled sauce to clean glass jars and refrigerate. The high sugar and vinegar content acts as natural preservatives.
- Shelf life: Properly stored in the refrigerator, homemade sweet chili sauce keeps well for 2-3 weeks.
- Freezing option: For longer storage, freeze in ice cube trays then transfer to freezer bags. Frozen sauce maintains quality for up to 3 months.
- Signs of spoilage: Discard if you notice an off smell, mold, bubbling, or discoloration.
I like to make double batches and store in several small jars – one for immediate use and the rest for later or to give as homemade gifts.
Uses for Sweet Chili Sauce
This versatile sauce works beautifully in so many ways:
As a Dipping Sauce
- Spring rolls and egg rolls
- Grilled or fried shrimp
- Chicken nuggets or tenders
- Fried tofu cubes
- Vegetable tempura
- Fresh summer rolls
As a Glaze
- Brush on salmon or other fish before baking
- Glaze grilled chicken in the last few minutes of cooking
- Toss with roasted vegetables just before serving
- Brush on meatballs for an Asian-inspired appetizer
As a Cooking Ingredient
- Stir-fry sauce base (add some soy sauce and lime juice)
- Marinade component for meats
- Sauce for rice or noodle bowls
- Mix with mayonnaise for a zesty sandwich spread
Serving Suggestions
Here are some of my favorite pairings that showcase this sauce:
- Thai-inspired Lettuce Wraps: Fill butter lettuce cups with ground chicken or tofu cooked with ginger and garlic, topped with sweet chili sauce, chopped peanuts, and cilantro.
- Sweet Chili Glazed Salmon: Brush salmon fillets with sweet chili sauce and bake at 400°F for 12-15 minutes until flaky. Serve with steamed rice and vegetables.
- Appetizer Platter: Arrange grilled shrimp, crispy tofu cubes, and fresh vegetable sticks around a bowl of sweet chili sauce for dipping.
- Sweet Chili Stir-Fry: Use 3-4 tablespoons of sauce when stir-frying vegetables and your protein of choice for a quick weeknight dinner.
- Asian-inspired Salad Dressing: Mix 2 parts sweet chili sauce with 1 part lime juice and a splash of sesame oil for a vibrant salad dressing.
Troubleshooting Tips
Even experienced cooks run into issues sometimes. Here are solutions to common sweet chili sauce problems:
| Issue | Possible Cause | Solution |
|---|---|---|
| Too thin | Insufficient cornstarch or not cooked long enough | Add more cornstarch slurry (1 tsp cornstarch mixed with 2 tsp water) and simmer longer |
| Too thick | Too much thickener or overcooked | Add water 1 tablespoon at a time until desired consistency is reached |
| Too sweet | Too much sugar for your preference | Add more vinegar or lime juice, 1 teaspoon at a time |
| Too sour | Too much vinegar | Add more sugar, 1 teaspoon at a time |
| Not spicy enough | Not enough chilies or seeds removed | Add a pinch of cayenne pepper or red pepper flakes |
| Too spicy | Too many chilies or too many seeds | Add more sugar and a tablespoon of water to dilute heat |
| Lumpy | Cornstarch not fully dissolved before adding | Strain through a fine mesh sieve while still warm |
Dietary Adaptations
This recipe is naturally:
- Vegan
- Gluten-free
- Dairy-free
- Nut-free
For specific dietary needs, consider these substitutions:
- Low-sugar version: Replace sugar with monk fruit sweetener, erythritol, or allulose (start with half the amount and adjust to taste)
- Paleo-friendly: Use honey or maple syrup instead of sugar and arrowroot powder instead of cornstarch
- AIP-compliant: Use maple syrup and tapioca starch, omit chilies and use turmeric for color plus ginger for heat
Frequently Asked Questions
Can I can or preserve this sweet chili sauce for long-term storage?
While the high sugar and vinegar content acts as natural preservatives, this recipe hasn’t been tested for canning safety. For proper preservation, you’d need to ensure the pH is below 4.6 and follow proper water bath canning procedures. I recommend making smaller batches for refrigerator storage instead.
My sauce turned out cloudy rather than clear and glossy. What went wrong?
Cloudiness usually happens when cornstarch is boiled too vigorously after adding. Next time, reduce heat to a gentle simmer immediately after adding the cornstarch slurry and stir constantly but gently.
Can I use dried chilies instead of fresh?
Yes! Rehydrate dried chilies by soaking in hot water for 20-30 minutes, then drain and proceed with the recipe. You’ll need about 10-12 dried chilies to replace the fresh ones.
How can I make this sauce less sweet without affecting the consistency?
Reduce sugar to 1/2 cup and add 1-2 tablespoons of lime juice for brightness without thinning the sauce. You may need slightly more cornstarch to maintain thickness.
Is there a substitute for cornstarch?
Absolutely! Arrowroot powder works in equal amounts for a glossier finish. Tapioca starch is another good option. For a more unique texture, use 2 tablespoons of chia seeds instead – they’ll create a naturally thick sauce with interesting texture.
Can I add other flavors to customize the sauce?
Definitely! Try adding 1 tablespoon of grated ginger, 1-2 tablespoons of soy sauce, 1 tablespoon of lime juice, or 1 teaspoon of fish sauce for different flavor profiles. Lemongrass and kaffir lime leaves also make wonderful additions.
Final Thoughts
Making your own sweet chili sauce is one of those simple kitchen projects that delivers tremendous rewards. The vibrant flavor, customizable heat, and versatility make it worth the minimal effort required. Once you’ve made your first batch, I’m confident you’ll join me in wondering why you ever bought the pre-made version!
Whether you’re an experienced home cook or just starting your culinary journey, this recipe offers room for creativity while being forgiving enough for beginners. The sauce keeps well, improves with time, and elevates countless dishes.
I’d love to hear how your sweet chili sauce turns out and any creative ways you’ve found to use it in your kitchen. Happy cooking!