There’s something magical about watching pita bread puff up in the oven, creating those perfect pockets that make my heart skip a beat every single time. After years of experimenting in my kitchen, I’ve discovered that making homemade pita bread isn’t just about following a recipe – it’s about understanding the science behind this ancient bread and mastering the techniques that transform simple ingredients into pillowy, pocket-perfect rounds.
My journey with pita bread began during a trip to the Mediterranean, where I watched a local baker effortlessly create dozens of these versatile flatbreads. The aroma, the texture, the way they puffed like little balloons – I knew I had to bring this magic into my own kitchen. Today, I’m sharing everything I’ve learned about creating restaurant-quality pita bread at home.
Understanding Pita Bread: More Than Just Flatbread
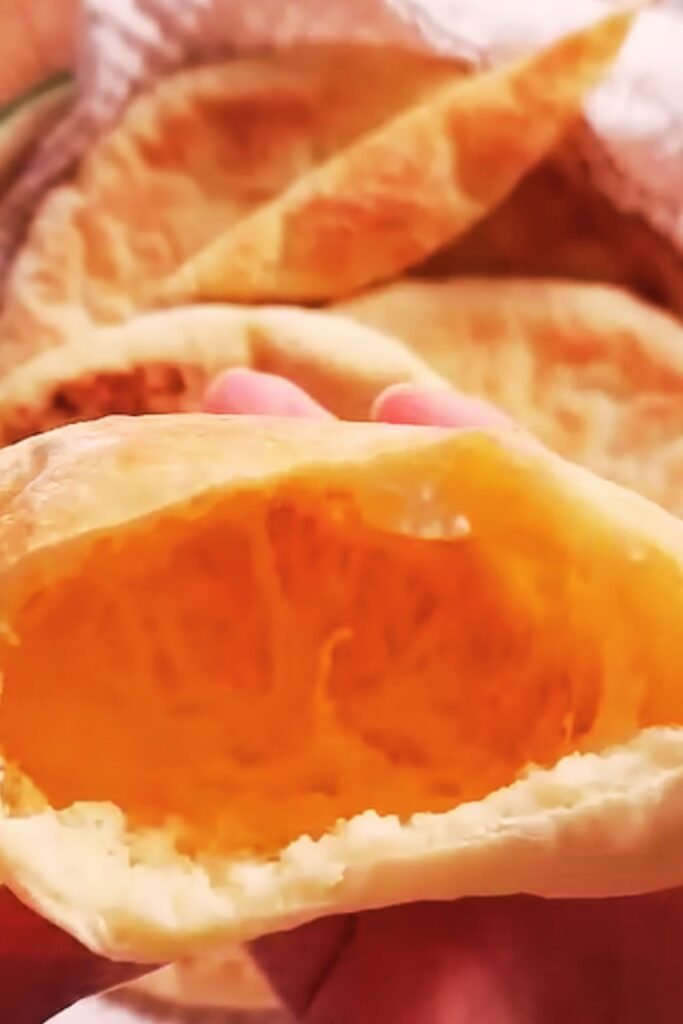
Pita bread is a round, hollow flatbread that originated in the Middle East and Mediterranean regions. The defining characteristic that sets pita apart from other flatbreads is its unique pocket formation, created by steam during the baking process.
Leavening agents in pita bread refer to the yeast that creates the gas bubbles necessary for the bread to puff and form pockets. Without proper leavening, your pita will remain flat and dense.
Gluten development is crucial for pita bread success. The gluten network traps steam during baking, allowing the bread to inflate and create that coveted pocket structure.
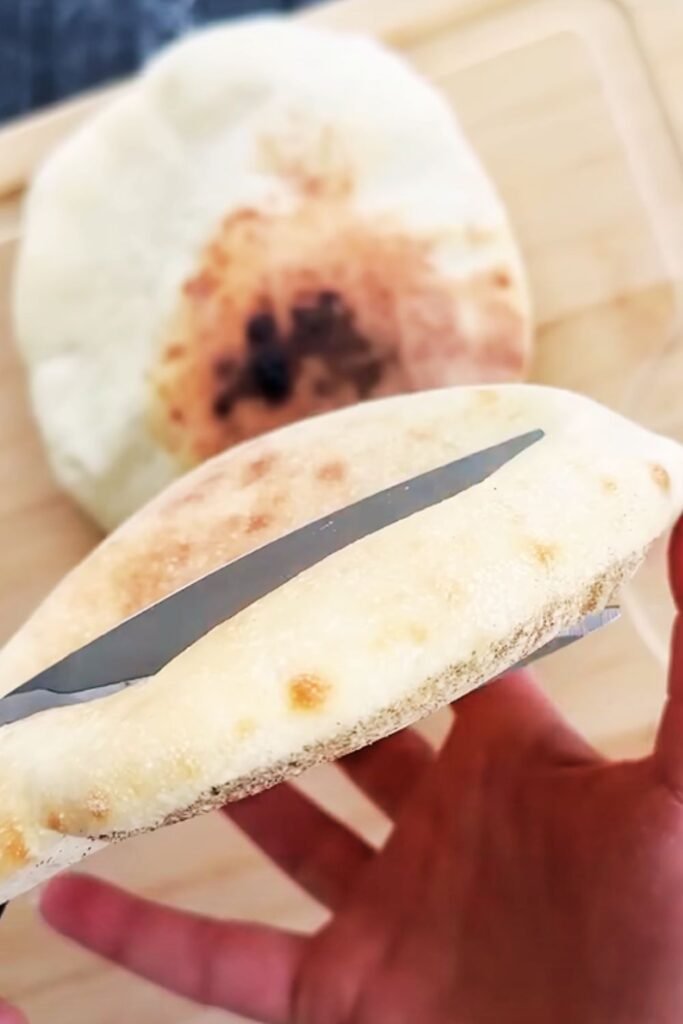
Steam pocket formation occurs when moisture in the dough rapidly converts to steam in the high-heat oven environment, inflating the bread like a balloon.
The Science Behind Perfect Pita Pockets
What fascinates me most about pita bread is the science behind its formation. When I place the rolled dough on my preheated baking stone, several things happen simultaneously. The intense heat causes the moisture in the dough to rapidly convert to steam. The gluten network I’ve carefully developed during kneading traps this steam, causing the bread to inflate dramatically.
The key is achieving the right balance of hydration, gluten development, and heat. Too little moisture, and the bread won’t puff. Too much, and it becomes soggy. Insufficient gluten development results in tears and uneven pockets. I’ve learned these lessons through countless batches, each one teaching me something new about this ancient art.
Essential Ingredients for Homemade Pita Bread
My pita bread recipe relies on just a handful of simple ingredients, but the quality and proportions matter tremendously. Here’s what I use in my kitchen:
| Ingredient | Amount | Purpose | Quality Tips |
|---|---|---|---|
| Bread flour | 3 cups (360g) | Primary structure | High protein content (12-14%) for better gluten |
| Warm water | 1 cup (240ml) | Hydration and yeast activation | 105-110°F for optimal yeast activity |
| Active dry yeast | 1 packet (2¼ tsp) | Leavening agent | Check expiration date; should foam when activated |
| Salt | 1 teaspoon | Flavor and gluten strengthening | Fine sea salt or kosher salt |
| Olive oil | 2 tablespoons | Texture and flavor | Extra virgin for best taste |
| Sugar | 1 teaspoon | Yeast food | Helps with browning and flavor |
I always use bread flour instead of all-purpose flour because the higher protein content creates stronger gluten networks. This translates to better pocket formation and a more satisfying chew. The olive oil adds richness and helps keep the bread tender, while the small amount of sugar feeds the yeast and contributes to beautiful golden browning.
Step-by-Step Pita Bread Making Process
Preparing the Dough
I start by activating my yeast in warm water. This step is crucial – I test the water temperature with my finger, ensuring it feels comfortably warm but not hot. Hot water kills yeast, while cold water won’t activate it properly. I add the sugar to the water along with the yeast, then let it sit for about 10 minutes until it becomes foamy and fragrant.
In my large mixing bowl, I combine the flour and salt, creating a well in the center. I pour in the activated yeast mixture and olive oil, then begin mixing with a wooden spoon until a shaggy dough forms. This is where patience becomes essential – I resist the urge to add more flour too quickly.
Kneading Techniques
Kneading pita dough requires a specific approach that I’ve refined over years of practice. I turn the dough onto a lightly floured surface and begin with gentle folding motions, allowing the flour to fully hydrate. After about 2 minutes of gentle handling, I increase the intensity.
My kneading technique involves pushing the dough away from me with the heel of my hand, folding it back over itself, giving it a quarter turn, and repeating. I maintain a steady rhythm for 8-10 minutes until the dough becomes smooth, elastic, and slightly tacky to the touch. The windowpane test – stretching a small piece of dough until it’s translucent – tells me when the gluten is properly developed.
First Rise and Shaping
I place the kneaded dough in an oiled bowl, cover it with a damp towel, and let it rise in a warm, draft-free location. In my kitchen, the top of the refrigerator or inside the oven with just the light on creates the perfect environment. The dough should double in size, which typically takes 1-2 hours depending on temperature and humidity.
Once risen, I gently deflate the dough and divide it into 8 equal portions. I shape each portion into a smooth ball, then cover them with a damp towel and let them rest for 15 minutes. This rest period relaxes the gluten, making the dough easier to roll out.
Rolling and Final Preparation
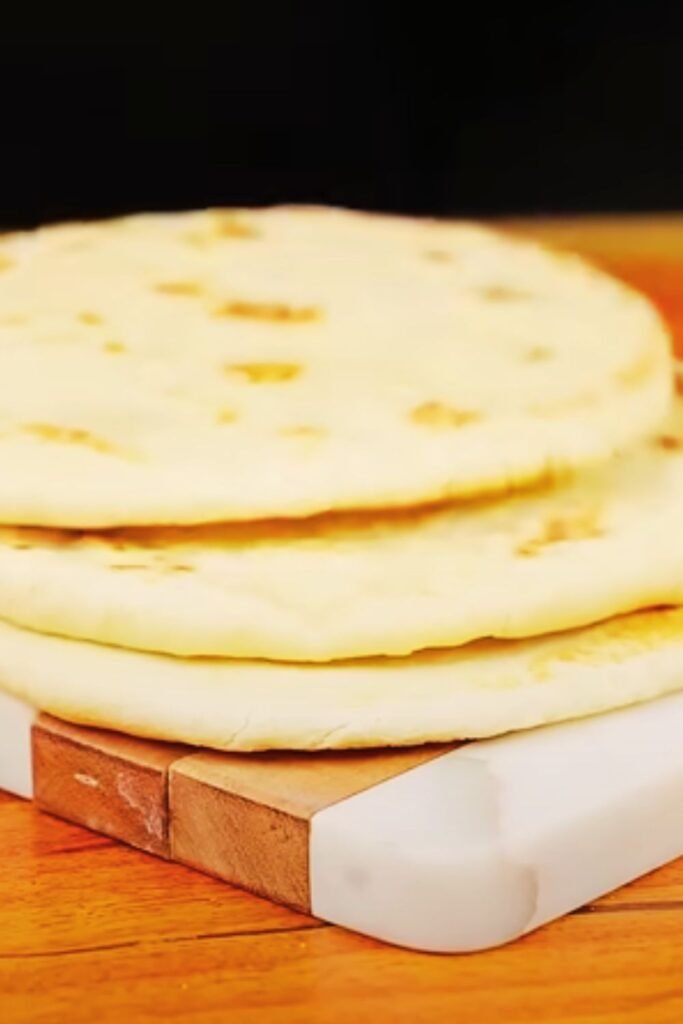
Rolling pita dough requires finesse. I work with one ball at a time, keeping the others covered to prevent drying. On a lightly floured surface, I roll each ball into a circle about 6-7 inches in diameter and ¼ inch thick. The key is maintaining even thickness – thin spots will tear, while thick spots won’t puff properly.
I place the rolled circles on parchment paper-lined baking sheets, cover them with kitchen towels, and let them rest for 20 minutes. This final rest allows the gluten to relax and ensures even puffing during baking.
Baking Techniques for Perfect Pockets
Oven Preparation
The secret to spectacular pita pockets lies in proper oven setup. I preheat my oven to 475°F (245°C) with a baking stone or heavy baking sheet on the bottom rack. This high heat is essential for rapid steam formation. I also place a shallow pan of water on the oven floor to create additional steam.
The baking stone must be thoroughly heated – I give it at least 30 minutes to reach the proper temperature. A pizza stone, ceramic tiles, or even an inverted heavy baking sheet works well. The thermal mass of the hot stone provides the intense, even heat needed for proper puffing.
The Baking Process
Working quickly to maintain oven temperature, I slide 2-3 pita rounds directly onto the hot stone using a pizza peel or the back of a baking sheet. The transformation is immediate and dramatic – within 2-3 minutes, the pitas puff up like balloons, creating perfect pockets.
I bake each batch for 3-4 minutes total, just until they’re puffed and lightly golden. Overbaking results in crispy, cracker-like texture instead of the soft, chewy consistency I’m after. The pitas should still be pale with just a hint of color.
Troubleshooting Common Pita Problems
Through my years of pita making, I’ve encountered virtually every problem imaginable. Here’s my troubleshooting guide:
Pitas Won’t Puff
Insufficient gluten development is the most common culprit. The dough needs adequate kneading to create the strong network that traps steam. I’ve learned to trust the feel of properly kneaded dough – it should be smooth, elastic, and slightly tacky.
Oven temperature issues can prevent puffing. If my oven isn’t hot enough, the steam forms too slowly and escapes before creating pockets. I always verify my oven temperature with a separate thermometer.
Dough thickness problems affect puffing ability. Too thin, and the dough tears; too thick, and it won’t puff completely. I aim for consistent ¼-inch thickness across the entire surface.
Uneven Pockets
Rolling inconsistencies create uneven pockets. I pay careful attention to maintaining uniform thickness and ensuring the dough doesn’t spring back during rolling.
Resting time variations can cause problems. If some pieces rest longer than others, they’ll behave differently during baking. I work systematically to ensure even timing.
Tough or Chewy Texture
Overworking the dough during shaping can develop too much gluten, resulting in tough bread. I handle the dough gently after the initial kneading phase.
Overbaking creates tough, dry pitas. I watch carefully and remove them as soon as they’re puffed and barely colored.
Advanced Techniques and Variations
Whole Wheat Pita Bread
I love creating whole wheat versions by substituting up to half the bread flour with whole wheat flour. The process remains the same, but I add an extra tablespoon of water to compensate for the whole wheat flour’s higher absorption rate. The result is nuttier, more complex flavor with added nutritional benefits.
Herb-Infused Pita
For special occasions, I incorporate dried herbs directly into the dough. Za’atar, dried oregano, or herbs de Provence transform ordinary pita into something extraordinary. I add 2-3 tablespoons of dried herbs to the flour mixture before adding liquids.
Stuffed Pita Variations
Sometimes I create stuffed pitas by placing filling between two thin rounds before the final rise. Cheese, herbs, or spiced meat mixtures work beautifully. The key is keeping fillings relatively dry to prevent soggy dough.
Storage and Reheating Methods
Proper storage maintains the quality of my homemade pitas for days. I cool them completely on wire racks, then store them in airtight containers or plastic bags. At room temperature, they stay fresh for 3-4 days. For longer storage, I freeze them in heavy-duty freezer bags for up to 3 months.
| Storage Method | Duration | Quality Retention | Reheating Instructions |
|---|---|---|---|
| Room temperature | 3-4 days | Good | Warm briefly in dry skillet |
| Refrigerator | 1 week | Fair | Wrap in damp towel, microwave 15 seconds |
| Freezer | 3 months | Excellent | Thaw at room temperature, warm in oven |
| Vacuum sealed | 6 months | Excellent | Thaw completely, steam lightly |
For reheating, I prefer using a dry skillet over medium heat for 30-60 seconds per side. This method restores the soft texture without making the bread soggy. Alternatively, I wrap them in slightly damp paper towels and microwave for 15-20 seconds.
Nutritional Benefits and Dietary Considerations
Homemade pita bread offers several nutritional advantages over store-bought versions. I control the ingredients, eliminating preservatives and excess sodium. Each pita contains approximately:
| Nutrient | Amount per Pita | Daily Value % |
|---|---|---|
| Calories | 165 | 8% |
| Carbohydrates | 33g | 11% |
| Protein | 5g | 10% |
| Fat | 2g | 3% |
| Fiber | 1.5g | 6% |
| Sodium | 200mg | 9% |
For those with dietary restrictions, pita bread adapts well to various needs. I’ve successfully created gluten-free versions using a blend of rice flour, tapioca starch, and xanthan gum. The texture differs slightly, but the pocket formation still occurs with proper technique.
Creative Serving Suggestions
The versatility of homemade pita bread never ceases to amaze me. Beyond traditional pocket stuffing, I use pitas in countless creative ways:
Mediterranean-Inspired Meals
I love serving warm pitas alongside hummus, baba ganoush, and tabbouleh for authentic Mediterranean experiences. The soft texture complements the creamy dips perfectly, while the pockets hold generous amounts of salad.
Breakfast Applications
Pita bread makes excellent breakfast vehicles. I split them open and fill with scrambled eggs, fresh herbs, and crumbled feta. The combination of warm bread and creamy eggs creates a satisfying morning meal.
Dinner Transformations
For dinner, I transform pitas into pizza bases, brushing them with olive oil and topping with fresh tomatoes, herbs, and cheese. A few minutes under the broiler creates crispy, flavorful personal pizzas.
Snack Innovations
I cut pitas into triangles and bake them with olive oil and seasonings to create homemade chips. These pair beautifully with dips and offer a healthier alternative to commercial chips.
Equipment Recommendations
Over the years, I’ve refined my pita-making equipment to achieve consistent results:
| Equipment | Purpose | Investment Level | Alternative Options |
|---|---|---|---|
| Kitchen scale | Accurate measurements | Essential | Measuring cups (less precise) |
| Baking stone | Even heat distribution | Highly recommended | Inverted baking sheet |
| Pizza peel | Easy transfer | Useful | Back of baking sheet |
| Stand mixer | Consistent kneading | Optional | Hand kneading |
| Oven thermometer | Temperature accuracy | Recommended | Built-in oven gauge |
A kitchen scale revolutionized my pita making by ensuring consistent hydration ratios. The baking stone provides the intense, even heat crucial for proper puffing. While a pizza peel makes transfer easier, I’ve achieved excellent results using the back of a rimless baking sheet.
Cultural Significance and History
Understanding pita bread’s cultural importance enriches my appreciation for this simple yet sophisticated bread. Archaeological evidence suggests flatbreads similar to pita have been baked for over 4,000 years in the Middle East. The word “pita” derives from the Greek word “pitta,” meaning “pie” or “cake.”
In Middle Eastern cultures, bread holds sacred significance, often blessed before consumption and never wasted. This reverence for bread influences how I approach pita making – with respect for the tradition and ingredients.
Different regions have developed unique variations. Greek pita tends to be thicker and softer, while Lebanese pita is typically thinner with more pronounced pockets. I’ve experimented with both styles, adapting techniques to achieve the characteristics I prefer.
Professional Tips for Success
My years of experience have taught me several professional secrets that dramatically improve results:
Temperature Control
Consistency in temperature throughout the process is crucial. I maintain detailed notes about ambient temperature, water temperature, and rising times. This data helps me adjust techniques based on seasonal variations.
Timing Precision
Pita making requires precise timing. I use timers for every stage, from yeast activation to final baking. Rushing any step compromises the final product.
Quality Ingredient Sourcing
I source high-quality ingredients from reliable suppliers. Fresh yeast, unbleached flour, and good olive oil make noticeable differences in flavor and texture.
Batch Consistency
When making multiple batches, I maintain consistent conditions by working in temperature-controlled environments and using standardized measurements and techniques.
Questions and Answers
Q: Why didn’t my pita bread puff up during baking?
The most common reasons for flat pitas include insufficient gluten development, inadequate oven temperature, or dough that’s too thick or thin. Make sure you knead the dough for the full 8-10 minutes until it passes the windowpane test, preheat your oven to 475°F with a baking stone, and roll the dough to an even ¼-inch thickness.
Q: Can I make pita bread without a baking stone?
While a baking stone produces the best results, you can use an inverted heavy baking sheet or even bake directly on the oven rack. The key is having a very hot surface that provides intense, even heat for rapid steam formation.
Q: How do I know when my pita dough is properly kneaded?
Properly kneaded pita dough should be smooth, elastic, and slightly tacky to the touch. The windowpane test is the most reliable indicator – stretch a small piece of dough until it’s thin enough to see through without tearing.
Q: What’s the ideal thickness for rolling pita dough?
I roll my pita dough to approximately ¼-inch thickness. This provides enough structure for pocket formation without being so thick that it won’t puff properly. Consistency across the entire surface is more important than exact measurement.
Q: Can I freeze pita bread dough?
Yes, you can freeze pita dough after the first rise. Divide it into portions, wrap individually in plastic wrap, and freeze for up to 3 months. Thaw overnight in the refrigerator, then proceed with shaping and the final rise.
Q: Why do my pitas have tough, chewy texture?
Tough pitas usually result from overworking the dough during shaping, overbaking, or using too much flour during rolling. Handle the dough gently after the initial kneading, bake just until puffed and barely colored, and use minimal flour for dusting.
Q: How can I achieve more consistent pocket formation?
Consistent pockets require even dough thickness, proper gluten development, and uniform baking conditions. Use a ruler to check thickness, ensure adequate kneading time, and maintain consistent oven temperature throughout baking.
Q: What’s the best way to reheat day-old pitas?
I prefer reheating pitas in a dry skillet over medium heat for 30-60 seconds per side. This method restores softness without making them soggy. Alternatively, wrap in slightly damp paper towels and microwave for 15-20 seconds.
Q: Can I make whole wheat pita bread using this recipe?
Absolutely! Substitute up to half the bread flour with whole wheat flour and add an extra tablespoon of water to compensate for higher absorption. The process remains the same, though whole wheat pitas may require slightly longer kneading time.
Q: How do I store leftover pita bread to maintain freshness?
Store cooled pitas in airtight containers or plastic bags at room temperature for 3-4 days. For longer storage, freeze them in heavy-duty freezer bags for up to 3 months. Always cool completely before storing to prevent condensation and sogginess.
Making homemade pita bread has become one of my most rewarding culinary adventures. The process connects me to centuries of baking tradition while providing endless opportunities for creativity and experimentation. Each batch teaches me something new, whether it’s adjusting for seasonal humidity changes or discovering new flavor combinations.
The satisfaction of watching those perfect pockets form in my oven never gets old. Neither does the joy of sharing warm, fresh pitas with family and friends, knowing that I’ve created something both delicious and meaningful with my own hands. The journey from simple ingredients to spectacular bread continues to inspire me, and I hope it inspires you to embark on your own pita-making adventure.
Remember, perfection comes with practice. Don’t be discouraged if your first attempts aren’t restaurant-quality – mine certainly weren’t! Each batch builds your understanding and skill, bringing you closer to pita perfection. The investment in time and practice pays dividends in the form of incredible homemade bread that far surpasses anything you can buy in stores.