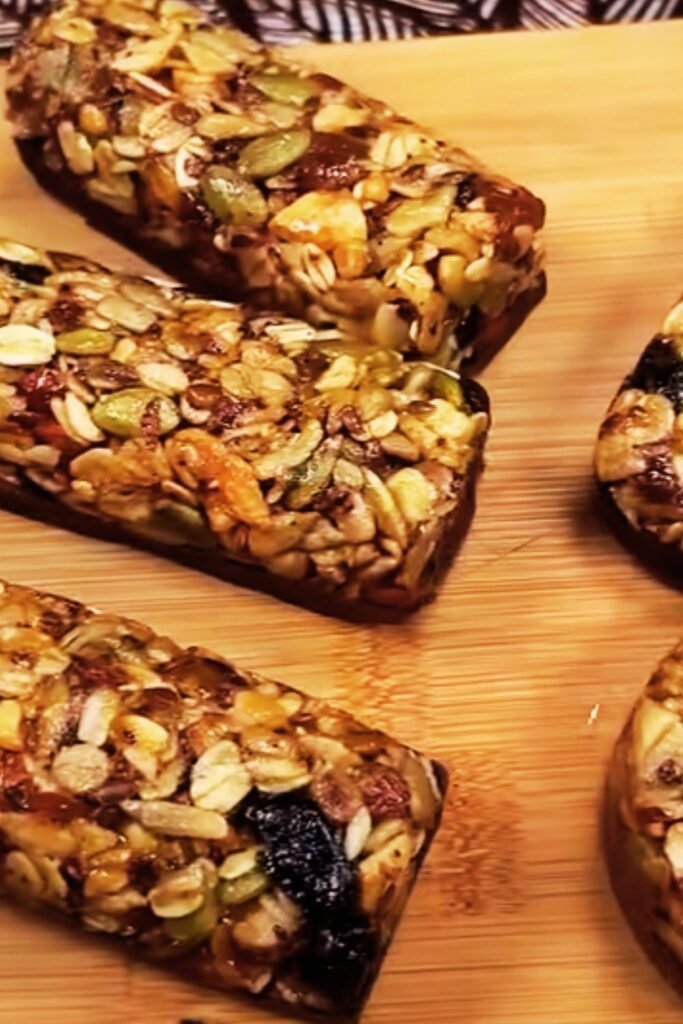
Making my own sugar-free granola has been one of the most rewarding kitchen adventures I’ve embarked on. There’s something magical about the aroma of toasted oats and nuts filling my kitchen, knowing that every ingredient serves a purpose beyond just sweetness. When I first started this journey, I was skeptical that granola could taste amazing without traditional sugar, but I’ve discovered that natural sweeteners and proper technique create clusters that rival any store-bought variety.
The beauty of homemade sugar-free granola lies not just in its health benefits, but in the complete control you have over every component. I’ve experimented with countless combinations, and through trial and error, I’ve developed foolproof methods that consistently produce golden, crunchy clusters that satisfy even the most discerning sweet tooth.
Understanding Sugar-Free Sweetening Options
Natural Sweeteners: Plant-based alternatives that provide sweetness without refined sugar Sugar Alcohols: Low-calorie sweeteners that don’t spike blood sugar levels Fruit-Based Sweeteners: Concentrated fruit essences that add natural sweetness Stevia Compounds: Highly concentrated leaf extracts that provide intense sweetness
When I began exploring sugar-free options, I quickly learned that not all sweeteners behave the same way in granola. Some create better binding properties, while others contribute to superior browning. My experience has taught me that combining different types often yields the best results.
The most successful sugar-free sweeteners I’ve used include erythritol, which provides excellent bulk and browning properties, and stevia, which offers intense sweetness in small quantities. Monk fruit sweetener has become another favorite because it doesn’t leave any bitter aftertaste and handles high heat beautifully.
Essential Ingredients Breakdown
| Ingredient Category | Primary Options | Secondary Options | Function in Recipe |
|---|---|---|---|
| Base Grains | Old-fashioned oats, Steel-cut oats | Quinoa flakes, Buckwheat groats | Provides structure and fiber |
| Nuts & Seeds | Almonds, Walnuts, Pecans | Pumpkin seeds, Sunflower seeds | Adds protein and healthy fats |
| Natural Sweeteners | Erythritol, Stevia, Monk fruit | Xylitol, Yacon syrup | Creates sweetness and binding |
| Binding Agents | Coconut oil, Almond butter | Tahini, Avocado oil | Helps form clusters |
| Flavor Enhancers | Vanilla extract, Cinnamon | Nutmeg, Cardamom, Sea salt | Deepens overall taste profile |
| Optional Add-ins | Unsweetened coconut, Cocoa powder | Protein powder, Dried herbs | Customizes nutritional content |
My Foolproof Sugar-Free Granola Recipe
Base Recipe Ingredients:
- 4 cups old-fashioned rolled oats
- 1 cup mixed raw nuts (almonds, walnuts, pecans), roughly chopped
- 1/2 cup raw seeds (pumpkin, sunflower)
- 1/3 cup erythritol or monk fruit sweetener
- 1/4 cup coconut oil, melted
- 2 tablespoons almond butter
- 1 teaspoon vanilla extract
- 1 teaspoon ground cinnamon
- 1/2 teaspoon sea salt
- 1/4 teaspoon stevia powder (optional, for extra sweetness)
Step-by-Step Preparation Method:
- Preheat and Prepare: I always start by preheating my oven to 300°F (150°C). This lower temperature is crucial for sugar-free granola because it allows even browning without burning the natural sweeteners.
- Mix Dry Ingredients: In a large mixing bowl, I combine the oats, chopped nuts, seeds, erythritol, cinnamon, and salt. I make sure to distribute everything evenly so each cluster gets balanced flavoring.
- Create Wet Mixture: In a separate bowl, I whisk together the melted coconut oil, almond butter, vanilla extract, and stevia if using. The key is achieving a smooth, pourable consistency.
- Combine and Coat: I pour the wet mixture over the dry ingredients and use a large spoon to thoroughly coat everything. I spend extra time ensuring every oat and nut gets coated – this is what creates those coveted clusters.
- Spread and Bake: I spread the mixture evenly on a large, parchment-lined baking sheet. The secret is creating a relatively thin layer for even browning.
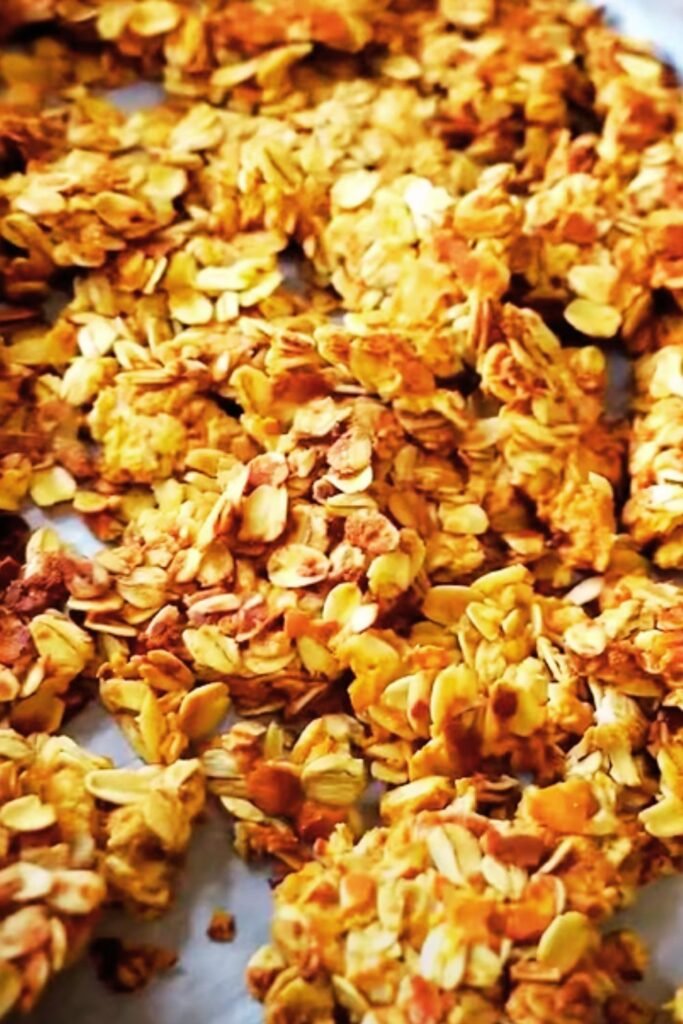
- Monitor and Stir: I bake for 20-25 minutes, stirring every 8-10 minutes to prevent burning and promote even coloring. The granola is ready when it’s golden brown and fragrant.
- Cool Completely: This step tests my patience, but it’s essential. I let the granola cool completely on the baking sheet before breaking it into clusters. Moving it too early results in crumbly granola instead of chunky clusters.
Advanced Techniques for Perfect Clusters
Creating consistently perfect clusters requires understanding the science behind granola formation. I’ve learned that the ratio of wet to dry ingredients must be precise – too much liquid creates soggy granola, while too little results in loose, unclustered pieces.
The temperature control is equally critical. My early attempts at higher temperatures resulted in burnt edges and raw centers. The 300°F sweet spot allows the natural sugars in nuts and the added sweeteners to caramelize slowly, creating those golden, crunchy clusters we all crave.
I’ve also discovered that the cooling process is where the magic happens. As the granola cools, the melted oils and sweeteners solidify, essentially gluing the ingredients together. Disturbing this process by moving or stirring too early breaks these bonds.
Nutritional Benefits and Comparison
| Nutrient (per 1/3 cup serving) | Traditional Granola | Sugar-Free Granola | Percentage Difference |
|---|---|---|---|
| Calories | 210-250 | 180-200 | -15% to -20% |
| Total Carbohydrates | 35-40g | 20-25g | -40% to -35% |
| Added Sugars | 12-18g | 0g | -100% |
| Fiber | 3-4g | 5-6g | +25% to +50% |
| Protein | 4-5g | 6-7g | +20% to +40% |
| Healthy Fats | 8-10g | 10-12g | +20% to +25% |
The nutritional advantages of sugar-free granola extend far beyond just reducing sugar content. By eliminating refined sugars, I’ve created space for more nutrient-dense ingredients like additional nuts, seeds, and fiber-rich oats. The result is a breakfast option that provides sustained energy without the sugar crash.
Creative Flavor Variations
Chocolate Lovers’ Delight
I add 2 tablespoons of unsweetened cocoa powder and 1/4 cup of sugar-free dark chocolate chips (added after baking) to create a rich, chocolatey version that satisfies dessert cravings at breakfast.
Tropical Paradise
My tropical variation includes unsweetened coconut flakes, macadamia nuts, and a hint of lime zest. I sometimes add freeze-dried pineapple pieces after baking for extra tropical flair.
Spiced Autumn Blend
For fall, I increase the cinnamon and add nutmeg, ground ginger, and a pinch of cloves. Chopped pecans and walnuts complement these warm spices perfectly.
Protein Power Version
When I need extra protein, I incorporate a scoop of unflavored or vanilla protein powder, adjusting the liquid ingredients slightly to maintain proper consistency.
Storage and Preservation Methods
Proper storage is crucial for maintaining the crunchiness and freshness of homemade granola. I store my finished granola in airtight glass containers at room temperature, where it stays fresh for up to three weeks. The key is ensuring the granola is completely cool and dry before storing to prevent condensation.
For longer storage, I portion the granola into freezer-safe bags and freeze for up to three months. I’ve found that frozen granola maintains its texture remarkably well, and I can take out just what I need for the week.
I always keep a small amount in a separate container for daily use, refilling as needed. This prevents me from repeatedly opening the main storage container, which can introduce moisture and reduce freshness.
Troubleshooting Common Issues
Problem: Granola won’t cluster properly Solution: I increase the binding agents (coconut oil or nut butter) by 1-2 tablespoons and ensure I’m pressing the mixture firmly on the baking sheet before baking.
Problem: Granola tastes bland Solution: I’ve learned that sugar-free granola needs more salt and spices than traditional versions. I typically increase salt by 25% and add extra vanilla or spices.
Problem: Granola burns too quickly Solution: Lower oven temperature to 275°F and extend baking time. I also move the baking sheet to a lower oven rack.
Problem: Granola seems too dry Solution: I add more liquid binding agents or incorporate ingredients with natural moisture, like unsweetened applesauce (1-2 tablespoons).
Serving Suggestions and Pairings
My favorite way to enjoy this granola is over Greek yogurt with fresh berries. The protein from the yogurt complements the granola’s healthy fats and fiber, creating a balanced meal that keeps me satisfied for hours.
I also love using it as a topping for smoothie bowls, adding texture and nutrients to creamy blended fruits. Sometimes I eat it straight as a snack, or mix it into homemade trail mix with additional nuts and seeds.
For a special treat, I warm a small portion in a dry skillet until fragrant and serve it over vanilla-flavored chia pudding. The contrast between the cool, creamy pudding and warm, crunchy granola creates an almost dessert-like experience.
Cost Analysis and Savings
| Item | Store-Bought Sugar-Free | Homemade | Cost per Serving |
|---|---|---|---|
| Initial Investment | $8-12 per bag (12 oz) | $15-20 (ingredients for 4 batches) | – |
| Per Batch Cost | – | $4-5 | – |
| Per Serving (1/3 cup) | $0.85-1.25 | $0.35-0.45 | 60-65% savings |
| Monthly Cost (daily serving) | $25-38 | $10-14 | $15-24 savings |
Making my own sugar-free granola has saved me significant money over time. The initial ingredient investment might seem substantial, but the cost per serving is dramatically lower than premium store-bought options. Plus, I can make exactly the flavors I want without compromising on ingredient quality.
Health Impact and Benefits
The health benefits I’ve experienced since switching to homemade sugar-free granola extend beyond just weight management. My energy levels remain more stable throughout the morning, and I don’t experience the mid-morning crash that often followed sugary breakfast cereals.
The increased fiber content has positively impacted my digestive health, while the healthy fats from nuts and seeds contribute to better satiety. I’ve also noticed that my sugar cravings have decreased significantly since eliminating the refined sugars from my morning routine.
The control over ingredients means I can avoid additives and preservatives commonly found in commercial granola. This has been particularly beneficial for my family members with food sensitivities.
Questions and Answers
Q: Can I use liquid sweeteners like sugar-free maple syrup in this recipe? I’ve experimented with liquid sweeteners, and while they work, they require adjusting other liquid ingredients. I typically reduce the coconut oil by 1-2 tablespoons when using liquid sweeteners to maintain proper consistency.
Q: How do I know when the granola is perfectly done? The granola should be golden brown and smell nutty and fragrant. I perform the “cluster test” – if I can gently press a small section and it holds together, it’s ready. The color should be even across the entire batch.
Q: What’s the best way to incorporate protein powder without making it chalky? I mix the protein powder with the dry ingredients first, then gradually add the wet ingredients while stirring constantly. Using vanilla or unflavored protein powder works best, and I sometimes add an extra tablespoon of liquid to compensate for the powder’s absorbent properties.
Q: Can I make this granola oil-free? While oil helps create clusters, I’ve successfully made oil-free versions using mashed banana or unsweetened applesauce as binding agents. The texture is different – less crunchy, more chewy – but still delicious.
Q: How do I prevent my granola from getting soggy in milk or yogurt? I serve the granola immediately after adding it to milk or yogurt. For meal prep, I store the granola separately and add it just before eating. The key is maintaining that crucial texture contrast.
Q: What nuts work best for clustering? Almonds and pecans create the best clusters in my experience because of their natural oils and size. I avoid very oily nuts like macadamias for the base recipe, though they work well as accent ingredients.
Q: Can I double this recipe? Absolutely! I often make double batches, but I use two separate baking sheets to ensure even browning. The baking time might need to be extended by 5-10 minutes, and I rotate the pans halfway through baking.
Q: How do I adapt this recipe for nut allergies? I substitute seeds like sunflower, pumpkin, and hemp seeds for nuts. Sunflower seed butter works as a replacement for almond butter. The nutritional profile remains excellent, and the clustering still works well.
Q: What’s the shelf life of homemade granola compared to store-bought? Homemade granola typically stays fresh for 2-3 weeks when stored properly, compared to several months for commercial versions with preservatives. However, the superior taste and nutrition make the shorter shelf life worthwhile.
Q: Can I add fresh fruit to the granola before baking? Fresh fruit contains too much moisture and will make the granola soggy. I add dried fruits (unsweetened) during the last 5 minutes of baking, or fresh fruit only when serving.
This homemade sugar-free granola has transformed my breakfast routine and provided a foundation for countless creative variations. The process of making it has become almost meditative, and the satisfaction of creating something both delicious and nutritious from simple ingredients never gets old. Whether you’re managing blood sugar, reducing refined sugar intake, or simply wanting to know exactly what’s in your food, this recipe delivers on all fronts while exceeding expectations for taste and texture.