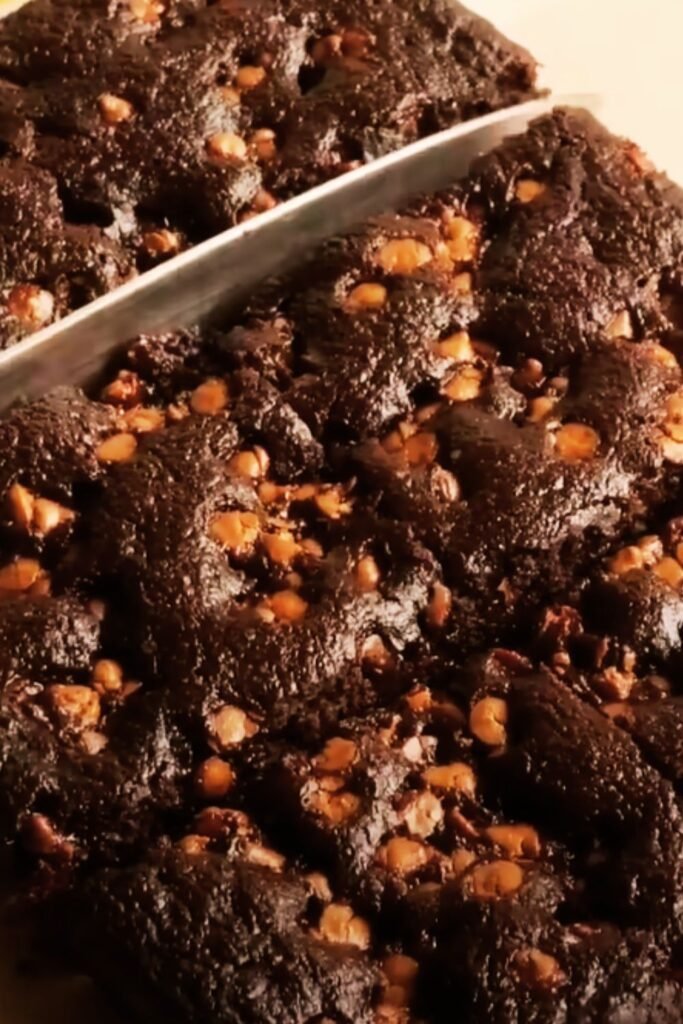
I’ve been on a mission to create the perfect no-bake dessert that satisfies my chocolate cravings without the guilt, and let me tell you – these no bake brownie bites are absolute game-changers! After years of experimenting in my kitchen, I’ve discovered that sometimes the simplest recipes create the most extraordinary results. With just three wholesome ingredients, you can whip up these incredibly fudgy, rich brownie bites that taste like they came straight from a high-end bakery.
The beauty of this recipe lies not just in its simplicity, but in how it transforms basic pantry staples into something truly magical. I’ve served these at dinner parties, packed them in lunchboxes, and sneaked them as midnight treats – and every single time, people are amazed that something so delicious requires zero baking time.
What Makes These No Bake Brownie Bites So Special?
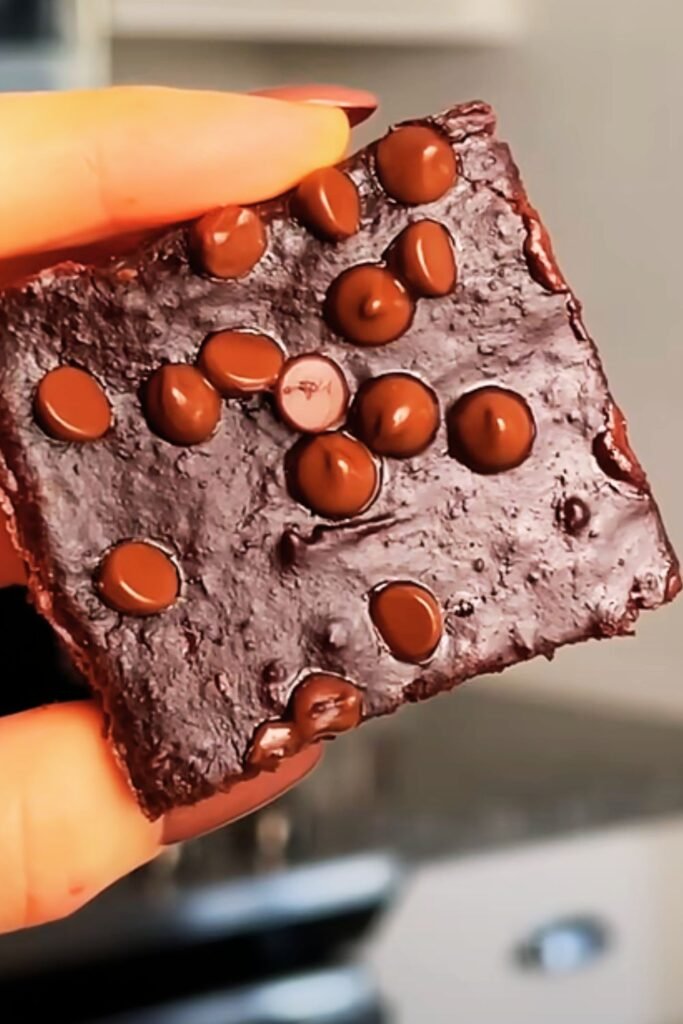
When I first started making no-bake desserts, I was skeptical about whether they could truly capture the essence of traditional baked goods. These brownie bites completely changed my perspective. The texture is remarkably similar to that perfect, slightly underbaked brownie center we all crave – dense, fudgy, and intensely chocolatey.
What sets my recipe apart from others you might find online is the carefully balanced ratio of ingredients. I’ve tested countless variations to achieve that perfect consistency that holds together beautifully but melts in your mouth. The secret lies in understanding how each ingredient contributes to both flavor and texture.
Key Benefits:
- Time-Efficient: Ready in under 15 minutes of active prep time
- Nutrient-Dense: Packed with healthy fats, protein, and natural sugars
- Allergy-Friendly: Naturally gluten-free, dairy-free, and can be made nut-free
- No Special Equipment: Just a mixing bowl and your hands
- Customizable: Endless variation possibilities
- Storage-Friendly: Keep for weeks in the refrigerator or months in the freezer
Essential Ingredient Breakdown
Understanding your ingredients is crucial for success with this recipe. Let me walk you through each component and why it matters:
Almond Butter: The Foundation
Definition: Almond butter serves as the primary binding agent and provides the rich, nutty base that mimics the depth of traditional brownies.
I always use natural, unsweetened almond butter with no added oils or sugars. The consistency should be smooth and slightly runny – if your almond butter is too thick or separated, give it a good stir before measuring. The natural oils in almond butter are what help bind everything together while contributing healthy monounsaturated fats and protein.
Pro Tip: Room temperature almond butter mixes much more easily than cold. If yours has been refrigerated, let it sit out for 30 minutes before using, or warm it slightly in the microwave for 10-15 seconds.
Maple Syrup: The Natural Sweetener
Definition: Pure maple syrup provides natural sweetness while adding moisture and helping to bind the ingredients into a cohesive mixture.
I specifically recommend pure maple syrup over artificial pancake syrup because of its complex flavor profile and natural composition. The consistency of maple syrup is perfect for this recipe – thick enough to add body but liquid enough to distribute evenly throughout the mixture.
Quality Matters: Grade A Dark Color, Robust Taste maple syrup works best here. It has a deeper flavor that complements the chocolate beautifully without being overpowering.
Cocoa Powder: The Chocolate Star
Definition: Unsweetened cocoa powder delivers the intense chocolate flavor that makes these bites taste authentically like brownies.
I always use Dutch-processed cocoa powder because it’s been alkalized, which reduces acidity and creates a smoother, more mellow chocolate flavor. It also has a darker color, giving these bites that rich, deep brown appearance we associate with decadent brownies.
Sifting is Essential: Always sift your cocoa powder to eliminate lumps. Nothing ruins the smooth texture of these bites like hitting a pocket of bitter, undissolved cocoa powder.
Detailed Nutritional Analysis
I believe in being transparent about what goes into our bodies, so here’s a comprehensive breakdown of the nutritional benefits these little powerhouses provide:
| Nutrient | Per Bite (approx.) | Daily Value % | Health Benefits |
|---|---|---|---|
| Calories | 95 | 5% | Sustained energy without sugar crash |
| Total Fat | 7.2g | 11% | Healthy monounsaturated fats for heart health |
| Saturated Fat | 1.1g | 6% | Natural source, not processed trans fats |
| Carbohydrates | 6.8g | 2% | Natural sugars with fiber for better absorption |
| Fiber | 2.1g | 8% | Supports digestive health and satiety |
| Protein | 3.4g | 7% | Plant-based protein for muscle maintenance |
| Sugar | 4.2g | – | Natural maple sugars, no refined sugar |
| Vitamin E | 2.1mg | 14% | Powerful antioxidant for skin and immune health |
| Magnesium | 24mg | 6% | Essential for muscle and nerve function |
| Calcium | 28mg | 3% | Bone health support |
| Iron | 0.8mg | 4% | Oxygen transport and energy production |
Step-by-Step Master Method
Creating perfect no-bake brownie bites is about more than just mixing ingredients together. Here’s my foolproof method that ensures success every time:
Preparation Phase
- Set Up Your Workspace: Line a large plate or small baking sheet with parchment paper. This prevents sticking and makes cleanup effortless.
- Temperature Check: Ensure your almond butter is at room temperature. Cold almond butter won’t incorporate smoothly with the other ingredients.
- Sift the Cocoa: Pass your cocoa powder through a fine-mesh sieve into a separate bowl. This eliminates lumps and ensures smooth mixing.
Mixing Technique
- Start with Wet Ingredients: In a large mixing bowl, combine the almond butter and maple syrup first. Mix thoroughly until completely smooth and well combined.
- Gradual Cocoa Addition: Add the cocoa powder in three stages, mixing well after each addition. This prevents the formation of cocoa clumps and ensures even distribution.
- Consistency Check: The final mixture should be thick enough to hold its shape when rolled but not so stiff that it cracks. It should feel like very thick cookie dough.
Shaping and Chilling
- Hand Preparation: Lightly dampen your hands with cool water. This prevents the mixture from sticking to your palms while rolling.
- Portion Control: Use a small cookie scoop or tablespoon to portion out uniform amounts. This ensures even-sized bites that chill at the same rate.
- Rolling Technique: Roll each portion between your palms with gentle pressure. Don’t overwork the mixture, as this can make it too warm and difficult to shape.
- Strategic Chilling: Place shaped bites on the parchment-lined plate, ensuring they don’t touch each other. Refrigerate for at least 30 minutes or freeze for 15 minutes for firmer results.

Troubleshooting Common Issues
Even with a simple three-ingredient recipe, things can sometimes go wrong. Here are the most common issues I’ve encountered and how to fix them:
Problem: Mixture Too Sticky
Cause: Usually happens when the almond butter is too runny or the kitchen is too warm. Solution: Add cocoa powder, one tablespoon at a time, until the mixture holds together better. Alternatively, chill the mixture for 15 minutes before shaping.
Problem: Mixture Too Dry
Cause: Almond butter that’s too thick or not enough maple syrup. Solution: Add maple syrup, one teaspoon at a time, or add a few drops of almond milk to achieve the right consistency.
Problem: Bites Fall Apart
Cause: Insufficient binding or mixture not chilled long enough. Solution: Make sure you’re mixing thoroughly and allowing adequate chilling time. Sometimes adding a small amount of coconut oil (1-2 teaspoons) can help with binding.
Problem: Too Sweet or Not Sweet Enough
Cause: Personal preference or measurement variations. Solution: Taste the mixture before shaping and adjust maple syrup accordingly. Remember, the sweetness will be less pronounced after chilling.
Advanced Techniques and Variations
Once you’ve mastered the basic recipe, there’s a whole world of variations to explore. Here are my favorite ways to elevate these brownie bites:
Texture Variations
- Crunchy Addition: Fold in chopped toasted nuts, seeds, or cacao nibs for textural contrast
- Smooth Luxury: Process the mixture in a food processor for an ultra-smooth, truffle-like texture
- Layered Approach: Create two-toned bites by making batches with different nut butters
Flavor Enhancements
- Espresso Boost: Add 1 teaspoon instant coffee powder for mocha flavor
- Vanilla Depth: Include 1/2 teaspoon pure vanilla extract
- Spice Warmth: Add a pinch of cinnamon, cayenne, or cardamom
- Citrus Brightness: Incorporate finely grated orange or lemon zest
Coating Options
- Coconut Roll: Roll finished bites in shredded coconut
- Chocolate Dip: Dip in melted dark chocolate and let set
- Nut Crush: Roll in finely chopped pistachios or almonds
- Powder Dust: Light dusting of additional cocoa powder or powdered sugar alternative
Storage and Preservation Guide
Proper storage is crucial for maintaining the perfect texture and flavor of your brownie bites. Here’s everything you need to know:
Short-Term Storage (1-2 weeks)
Store in an airtight container in the refrigerator. Layer the bites between sheets of parchment paper to prevent sticking. They’ll maintain their best texture and flavor for up to two weeks when properly stored.
Long-Term Storage (up to 6 months)
For longer storage, freeze the bites in a single layer on a parchment-lined tray until solid, then transfer to freezer-safe containers or bags. This prevents them from freezing into one big clump.
Serving Temperature Tips
- Straight from Fridge: Firm texture, intense flavor concentration
- Room Temperature (10-15 minutes out): Softer texture, more mellow flavors
- Slightly Chilled: My personal favorite – firm outside with a slightly soft center
Seasonal Adaptations
I love adapting this recipe throughout the year to celebrate different seasons and holidays:
Spring/Summer
- Add dried fruit pieces like cranberries or apricots
- Incorporate coconut flakes for a tropical feel
- Light dusting of freeze-dried strawberry powder
Fall/Winter
- Warm spices like cinnamon, nutmeg, and allspice
- Crushed candy canes for holiday versions
- Orange zest for winter citrus brightness
Serving Suggestions and Occasions
These versatile treats work beautifully in numerous settings:
Everyday Occasions
- Afternoon Energy Boost: Perfect with herbal tea or coffee
- Post-Workout Snack: Natural sugars and protein for recovery
- Lunchbox Treat: Kid-friendly and mess-free
- Evening Dessert: Satisfies sweet cravings without heaviness
Special Events
- Dinner Parties: Elegant when dusted with cocoa powder
- Potluck Contributions: Always a crowd-pleaser
- Holiday Gatherings: Festive with seasonal coatings
- Gift Giving: Package in decorative boxes for homemade gifts
Pairing Recommendations
- Beverages: Pairs beautifully with coffee, herbal teas, or plant-based milk
- Complementary Flavors: Serve alongside fresh berries or sliced bananas
- Cheese Boards: Add sophistication to dessert cheese selections
Health Benefits Deep Dive
Beyond just tasting incredible, these brownie bites offer substantial nutritional benefits:
Heart Health
The monounsaturated fats in almond butter support cardiovascular health by helping to reduce bad cholesterol levels while maintaining good cholesterol.
Blood Sugar Management
Unlike traditional brownies loaded with refined sugar, the natural sugars in maple syrup are absorbed more slowly, preventing dramatic blood sugar spikes.
Antioxidant Power
Cocoa powder is rich in flavonoids and antioxidants that support brain function and may help reduce inflammation in the body.
Sustained Energy
The combination of healthy fats, natural sugars, and plant protein provides steady energy without the crash associated with processed sweets.
Quality Control and Testing
I’ve developed a systematic approach to ensure each batch turns out perfectly:
Visual Cues for Success
- Mixture should be uniformly dark brown with no streaks
- Properly mixed batter will hold together when squeezed gently
- Shaped bites should maintain their round form without flattening
Texture Testing
- A properly chilled bite should yield slightly to pressure but hold its shape
- The interior should be moist and fudgy, not dry or crumbly
- When bitten, it should have the dense consistency of quality brownie batter
Taste Balance
- Sweetness should be present but not overwhelming
- Chocolate flavor should be rich and deep, not bitter
- Almond butter should provide richness without overpowering the chocolate
Q&A Section
Q: Can I substitute the almond butter with other nut butters? A: Absolutely! Peanut butter, cashew butter, or sunflower seed butter all work wonderfully. Each will create slightly different flavor profiles – peanut butter adds a classic combination with chocolate, while cashew butter creates an even more neutral, creamy base that lets the chocolate shine.
Q: My mixture is too wet and won’t hold its shape. What went wrong? A: This usually happens when the almond butter is too oily or runny. Try adding more cocoa powder, one tablespoon at a time, until the mixture firms up. You can also refrigerate the mixture for 15-20 minutes before rolling to help it set up.
Q: How long do these brownie bites actually last? A: When stored properly in an airtight container in the refrigerator, they’ll maintain optimal quality for up to two weeks. In the freezer, they can last up to six months, though I find they’re best consumed within three months for peak flavor and texture.
Q: Can I make these bites larger or smaller than bite-sized? A: Certainly! You can make them any size you prefer. Just remember that larger bites will need longer chilling time to set properly, while smaller ones might become too firm if over-chilled. Adjust accordingly and always test one before serving.
Q: Is there a way to make these even healthier? A: You can boost the nutrition by adding a tablespoon of chia seeds, hemp hearts, or protein powder. Some people also enjoy adding a handful of goji berries or other superfoods. Just remember that additional ingredients may affect the texture, so you might need to adjust the liquid ratios.
Q: Can I use coconut oil instead of almond butter? A: While coconut oil can work as a binding agent, it won’t provide the same creamy texture or protein content that almond butter offers. If you do substitute, use solid (not melted) coconut oil and expect a different texture – more like a chocolate truffle than a brownie bite.
Q: What’s the best way to transport these for parties or gifts? A: Keep them chilled until the last possible moment, then transport in insulated containers with ice packs if possible. They can sit at room temperature for 2-3 hours without losing their shape, but they’re definitely best when kept cool.
Q: Can I double or triple this recipe for large batches? A: Yes! This recipe scales up beautifully. Just make sure you have a large enough mixing bowl and that you’re measuring accurately. Large batches might require a bit more mixing time to ensure all ingredients are fully incorporated.
Q: Are these safe for people with diabetes? A: While these contain natural sugars rather than refined ones, they still contain carbohydrates that can affect blood sugar. Anyone with diabetes should consult their healthcare provider and consider their individual dietary needs. The fiber and healthy fats do help slow sugar absorption compared to traditional brownies.
Q: What happens if I accidentally add too much cocoa powder? A: If your mixture becomes too dry from excess cocoa powder, simply add maple syrup or almond butter in small increments until you reach the right consistency. The extra cocoa will make them more intensely chocolatey, which isn’t necessarily a bad thing!
Final Thoughts and Recipe Success
After making thousands of these brownie bites over the years, I can confidently say that this recipe has become one of my most reliable and beloved creations. The simplicity is deceptive – these three humble ingredients combine to create something truly extraordinary that rivals any traditional baked brownie.
What I love most about this recipe is its forgiving nature. Even if your ratios are slightly off or you make small substitutions, you’ll still end up with something delicious. It’s the perfect recipe for both novice cooks who want guaranteed success and experienced bakers who appreciate elegant simplicity.
The versatility means you’ll never get bored. I encourage you to start with the basic recipe to understand the foundation, then let your creativity guide you toward your own signature variations. Some of my most interesting discoveries have come from experimenting with different add-ins and flavor combinations.
Remember, the key to exceptional results lies in using quality ingredients, taking time with the mixing process, and being patient with the chilling phase. Trust the process, taste as you go, and don’t be afraid to adjust based on your preferences.
These brownie bites have graced my table at countless gatherings, provided comfort during stressful times, and served as my go-to solution when I need something sweet but want to feel good about what I’m eating. I hope they bring the same joy and satisfaction to your kitchen that they’ve brought to mine.
Whether you’re satisfying a late-night chocolate craving, impressing guests at a dinner party, or simply looking for a healthier way to enjoy the flavors you love, these no-bake brownie bites are ready to become your new favorite treat. Happy baking – or should I say, happy not-baking!